Maple Alps

meal plan

How To Cook [Garbanzo] Beans - Using a Pot, Instant Pot, or Slow Cooker

Recipes, HealthAmanda Walter | Maple AlpsComment

I love the versatility of garbanzo beans (also known as chick peas)! You can put them in a salad, roast them in the oven to make a quick snack, have them in a bowl or even crush them to make a spread or burgers. Beans of any sort are great to keep in the pantry, and if you are trying to save money on groceries, a fantastic way to do that is to buy beans dry! They keep a long time, and they are easy to prepare and freeze if you want to keep them on hand. Plus, if you have concerns about the sodium content in canned beans, dried is the way to go! Canned or not, you definitely need beans in your diet, so I decided to do a quick "how to" post to help you out. 

Affiliate links are used in this post

How To Cook [Garbanzo] Beans | www.maplealps.com

This how-to really applies to any bean and there are several ways to cook them. 

Step One: Sort
Check your beans for any broken fellows or other debris or stones you may find in a dry bag of beans. You will want to get all of that out.

Step Two: Rinse
Pretty self-explanatory.

Step Three: Soak
Now, soaking is optional actually! The thing about soaking is that it will cut your actual cooking time down (Saving you on gas/electricity - whatever your stove runs on), and it will also make beans less of a "musical fruit," as it allegedly helps break down some of the indigestible sugars that cause flatulence. I honestly don’t notice any difference between soaking or not. The easiest way to soak beans is overnight. Just make sure water is about 2-3 inches above them and sleep the night away. Waiting is easier then. You can also do a quick soak by putting them in a pot with water, bringing it to a boil, and then taking them off the heat and let them soak for an hour.

How To Cook Garbanzo Beans | www.maplealps.com

Step Four: Cook

Cooking Garbanzo Beans on the Stovetop

Again, make sure there is 2-3 inches of water covering your beans and bring the pot to a boil - slowly though. Bring the pot to a simmer, and stir occasionally, scraping off any foam that on the surface (you won't get too much with garbanzos). You will know your beans are done when they are tender (you can mash or poke them with a fork - or eat one like I tend to do....hehe)


Cooking Garbanzo Beans in the Slow Cooker

  • 3 cups garbanzo beans

  • 7 cups water

Cover and cook on high in your slow cooker for 4 hours, or on low for 8 to 9 hours - or until tender.


Cooking Garbanzo Beans in the Instant Pot (My favourite method):

  • 3 cups garbanzo beans

  • 7 cups water

If you are doing them from dry garbanzo beans, add the beans and water to your inner pot and set your pot to high pressure for 45 minutes. If your beans are soaked, set your pot to high pressure for 12 minutes.

Let pressure release naturally for 10 minutes and move steam release to venting to release the remaining pressure.


How To Cook Garbanzo Beans | www.maplealps.com

Step Five: Store
Beans will stay good in the refrigerator for several days, but I like to keep them in the freezer for easy and quick access. You can put them in little bags or freezer-friendly containers and they will stay several months in the freezer. I suppose you could can them as well, but I personally like the freedom with how many I want to use with the freezing method. I don't always use an entire cans worth.

Tip: If you want, portion them out into portions of 1.5 cups - about the amount in a can.

Yay! You are now ready to save time (with some planning, of course) and money!


How do you cook your beans? What do you cook with them?



Homemade Seedy Bread

RecipesAmanda Walter | Maple Alps10 Comments

Since it's been a while since I've talked about my everyday staples, I decided to share another bread recipe. 

You may have been around when I talked about why I don't buy bread anymore, and if not, that's okay. You can check it out here

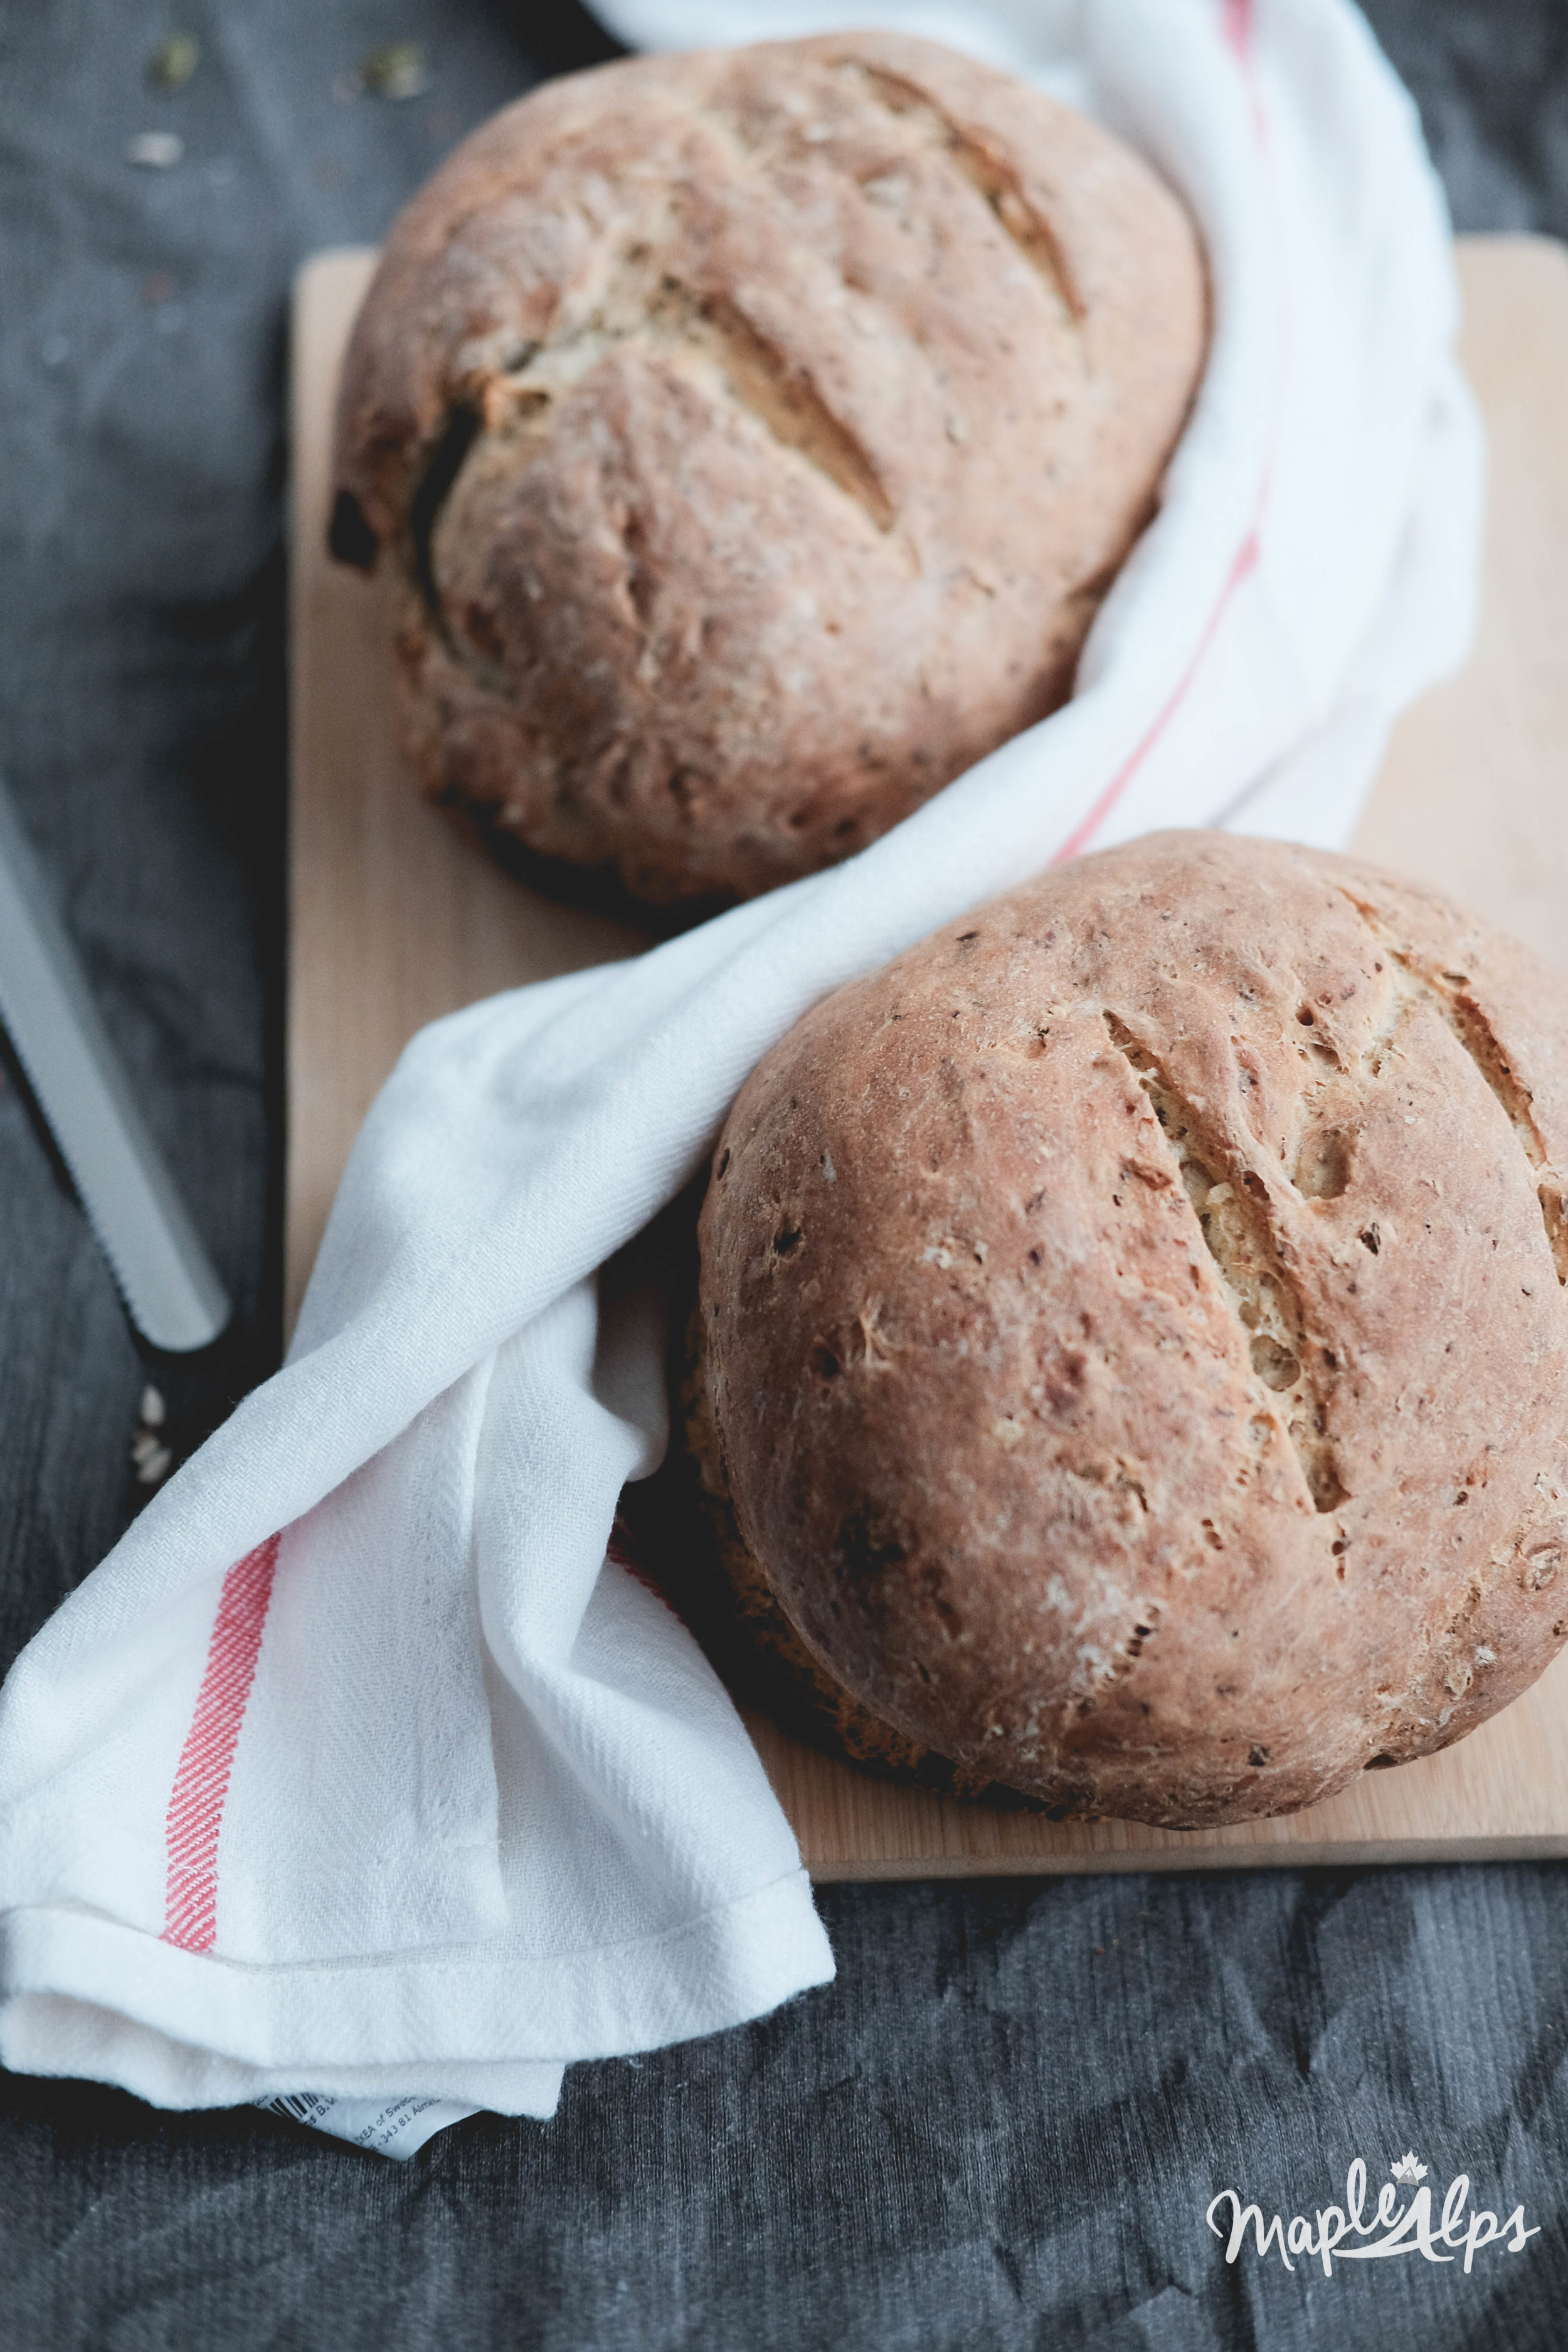
Easy Seedy Bread | www.maplealps.com

If you follow along on Instagram, you might know that we've slowly been making the transition to a homemade pantry. Over the past year, it's been so satisfying to add things that I used to never think twice about buying. Things that were staples, but never knew how easy and how much healthier (and cheaper!!) they were to make. Bread is one of those things, and since we eat it so often, it was only natural to make the switch. This year, I hope to share more of the things we learned, but back to this deliciousness that is this bread!

Easy Seedy Bread (vegan) | www.maplealps.com

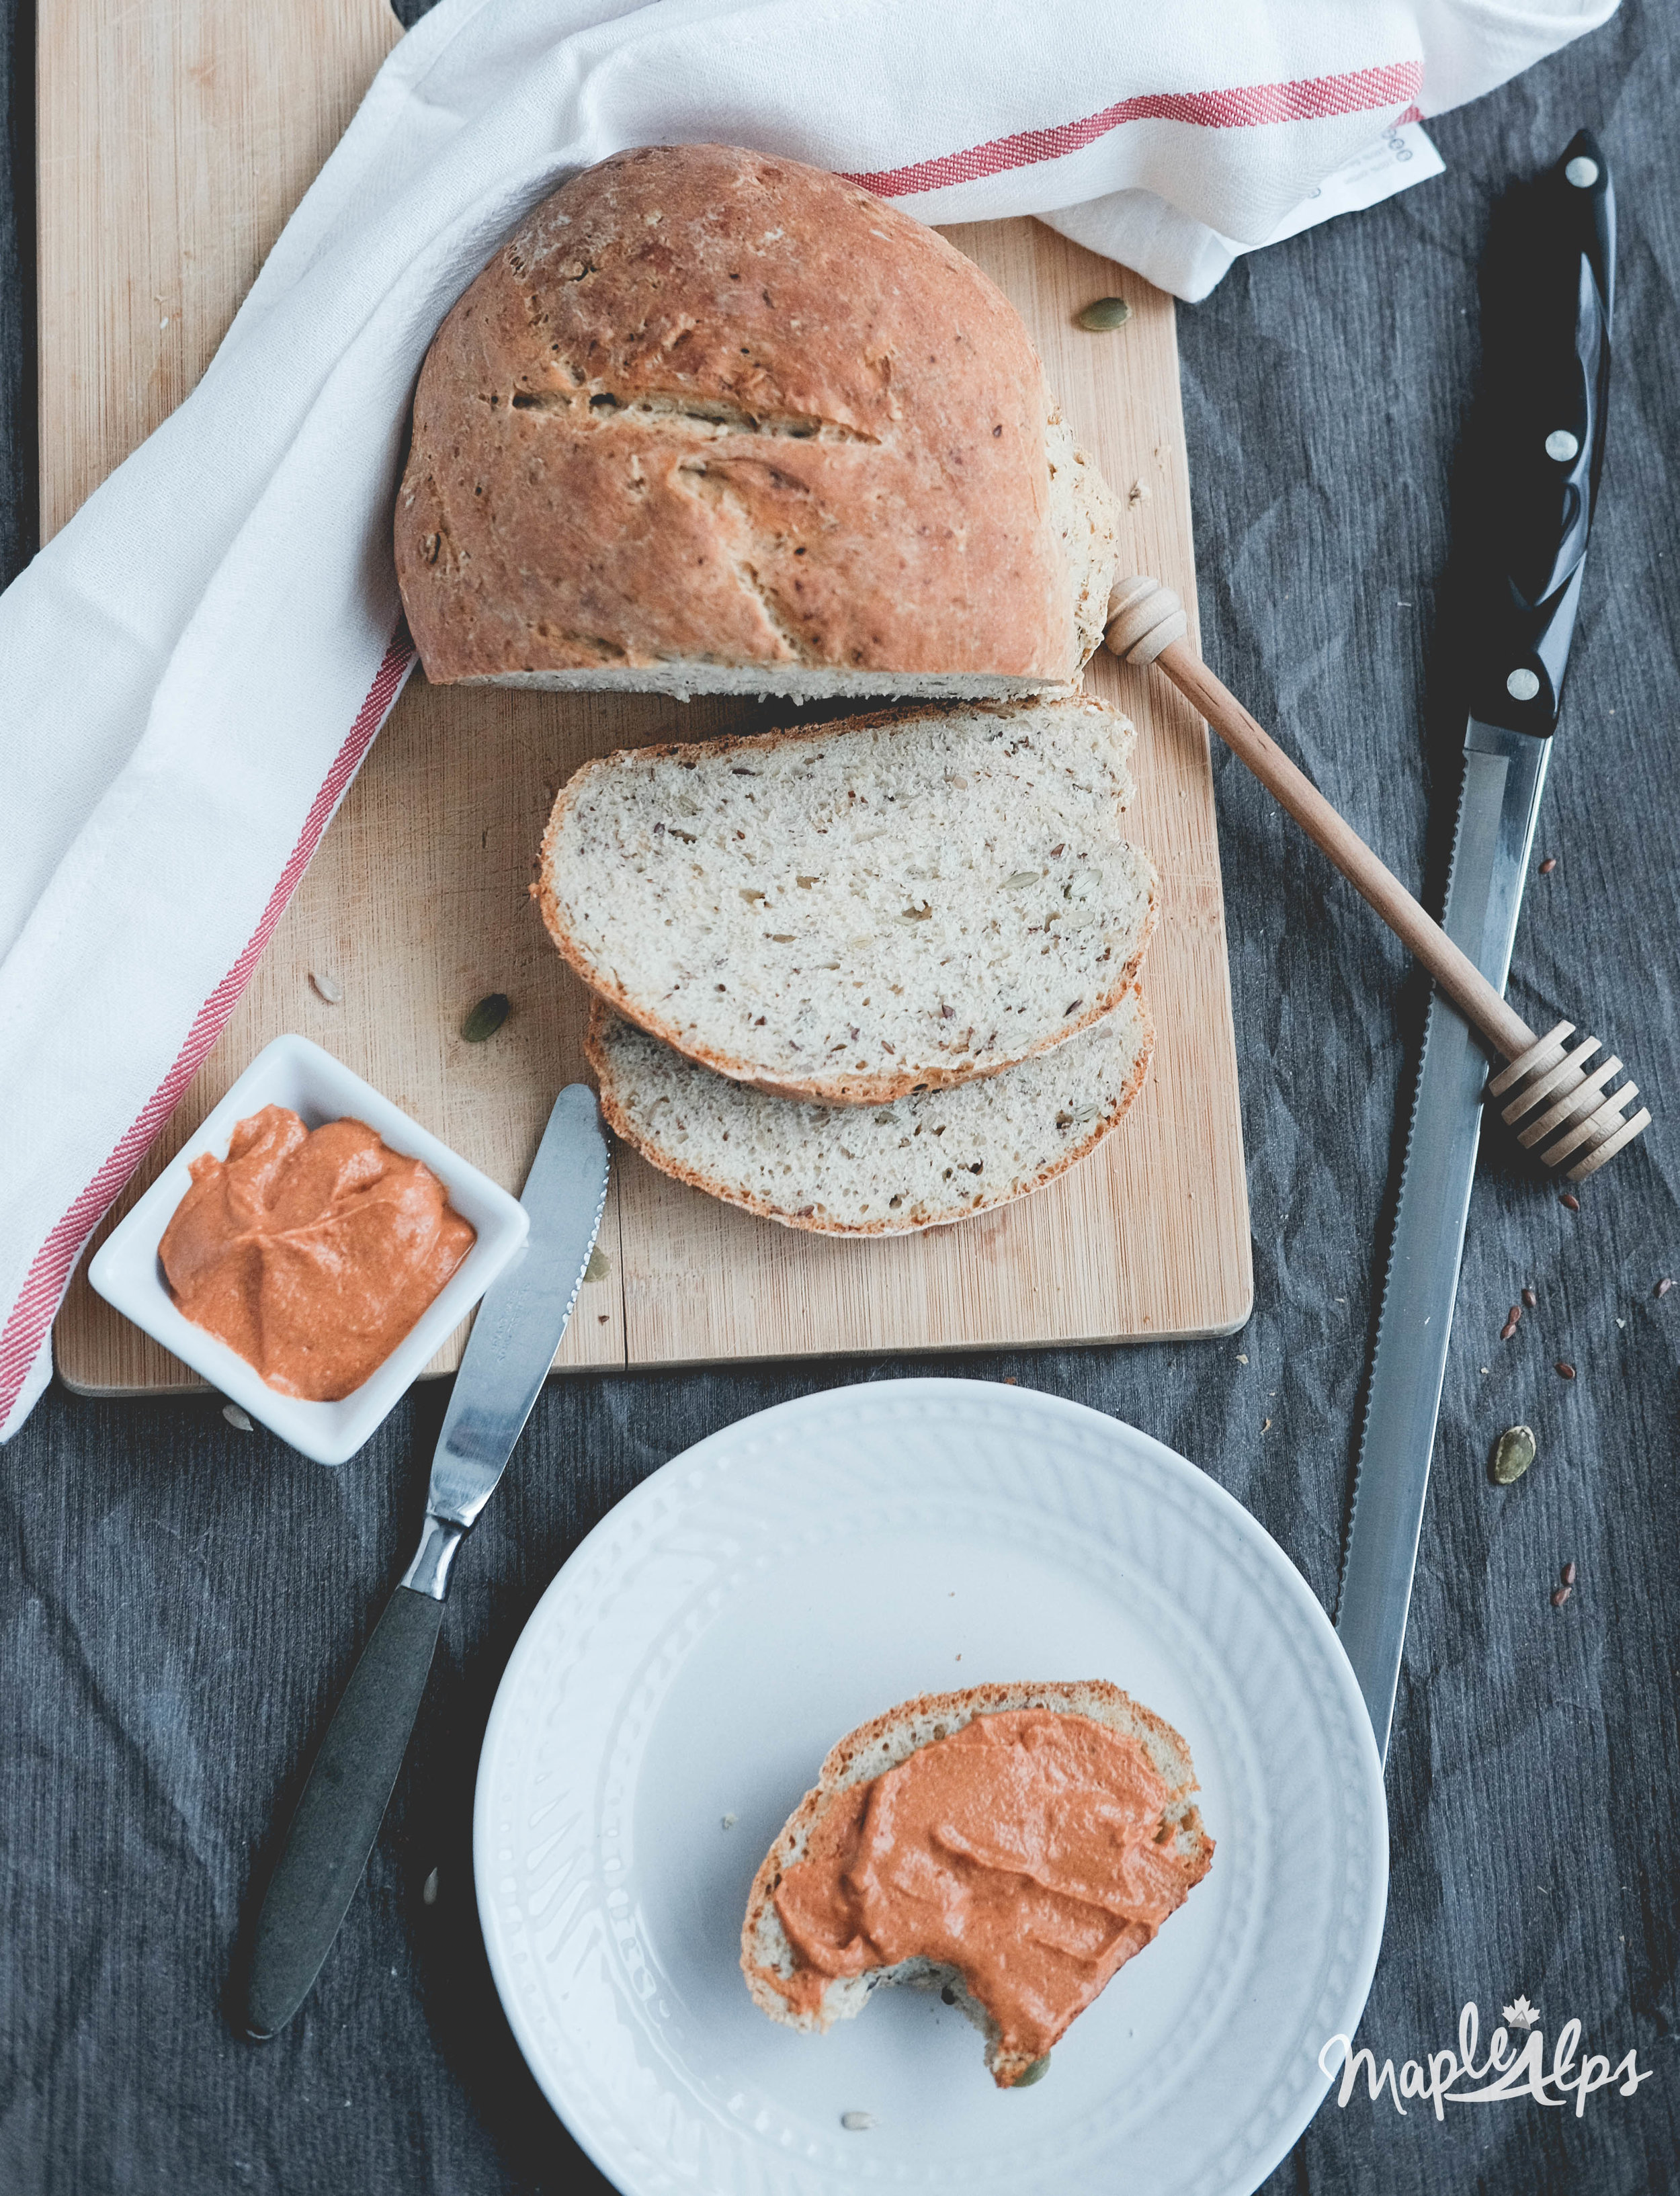
I like to rotate the bread recipes I make, but this one is so far my favourite. The texture is perfect, and I love the crispy outside. Sure, it takes a while to get everything done, but it's worth every long rise it goes through. That being said, it's very easy, just time consuming. 

We love eating this plain, or with homemade spread!

Easy Seedy Bread | www.maplealps.com

Easy Homemade Seedy Bread
Makes 2 Small Loaves

Bread Dough:
2 tsp active dry yeast
3 tbsp liquid honey (or agave if vegan)
1 1/2 cups warm water, divided
1 cup large flake oats
3 tbsp ground flax seeds
1 1/2 cups all-purpose flour (I have also used whole wheat pastry flour with great success)
1 1/4 cups bread flour, plus more for kneading
1 tsp sea salt
1 TBSP of each and mixed: pumpkin seeds, sunflower seeds, sesame seeds, flax seeds 

Preferment:
1 cup bread flour
1/2 cup warm water
1/4 tsp active dry yeast

1) The night before baking the bread make the preferment. In a large bowl, mix together the bread flour, water and yeast until a smooth small dough forms. Cover the bowl with plastic wrap and allow to sit at room temperature overnight. The preferment will double in size by morning.

2) Measure out 1/4 cup of warm water in a glass measuring cup. Add the yeast and honey. Mix to combine and then allow the mixture to sit, undisturbed for 5 minutes or until the mixture is foamy on top.

3) Add 1 1/4 cups of warm water to a bowl. Add the oats and flax and allow this mixture to sit for 5 minutes.

4) After 5 minutes, add both the yeast mixture and the oat mixture to the bowl with the preferment from the night before. Add the flours and salt.  

5) Mix and start kneading on the counter. You will have to knead for about 5 minutes (unless you have a stand mixer, but it's a great work out!). If the dough seems sticky, add extra flour 1 tablespoon at a time until it looks the way you would like. Add 3 tablespoons of the mixed seeds and mix until combined.

6) Grease the bowl you mixed the dough in and place the dough back in the bowl. Cover with plastic wrap and place in a warm place for at least 2 hours or until the dough has doubled in size.

7) Preheat oven 450 degrees F. Place a large dutch oven with the lid on in the oven on the centre rack. You may also use a pizza stone (or baking sheet) if that's all you have.

6) Punch the dough down and place it onto a floured work surface. Knead the dough a few times with your hands and then form the dough into a rough oval shape (if needed, you can divide the dough in half and make two loaves). Place the dough on a parchment lined baking sheet and cover with a damp kitchen towel. Allow the dough to rise for 20 minutes.

8) After 20 minutes, use a sharp knife to gently make a small slit down the center of the loaf. 

9) Carefully remove the hot dutch oven from the oven and remove the lid. Very carefully, pick the dough up by the parchment paper and lift it into the hot dutch oven (parchment and all). Place the hot lid back on the pot and return to the oven.

10) Bake for 20 minutes, then reduce the heat to 375 degrees F. Using oven mitts, remove the hot lid and continue baking until the bread is a deep, golden brown, about 15-20 minutes more. Remove from the oven. Carefully lift the bread out of the pot and place it on a wire rack to cool completely.


Easy Seedy Bread (vegan) | www.maplealps.com

Have you tried making your own homemade bread? I wish I could start it from the ground and grow the grain myself too!


Meal Planning in a Few Easy Steps

LifestyleAmanda Walter | Maple Alps24 Comments

A few weeks ago, I posted about why I meal plan, and today, I'm going to be sharing how I go about meal planning. I know I said I would post this earlier, but it has been a crazy couple of days. Since it's the beginning of the month, I thought I should get to it. 

The process of meal planning itself is a pretty easy one. I plan for the entire month. It used to take up to two hours, but now that I'm better at it, it goes by much quicker - usually no longer than an hour.

How to Meal Plan in a Few Easy Steps | www.maplealps.com

1) Check the Fridge, Freezer & Cupboards

I do this first because I can then determine what needs to be and can be used. I also do not wish to buy duplicates unnecessarily, so this step usually eliminates that. I also check on my staples to see if they need refilling. 


2) Gather My Recipes

This is my favourite part! I love going through the recipes I love and the ones I haven't tried. In addition to checking my repertoire, I open my Pinterest boards and my Pocket feed to see what recipes have interested me, and what I might be determined enough to knock off the "try list." Note: Our breakfasts are usually pretty standard because of work schedules, so we usually have fruit and whole grain cereal or bread. I don't bother planning for that because they're staples for us. A couple of times a month, we will have a free morning in which we can be a bit more adventurous though! 


3) Get Out the Calendar

I print out a blank monthly calendar to place my meals on. Eventually I want to make and use a reusable one. First, I block off the days where I don't need to worry about preparing food (days we're out of town or eating out, etc.). Next I schedule any grocery shopping trips (usually two). This helps me determine what ingredients I need to last longer. By the way, we personally only eat twice a day (one large breakfast, and an early supper/late lunch). If we are dying of hunger, we'll have a light snack later on.


4) Group Together Meals

I don't necessarily group meals that have overlapping ingredients if I don't plan on making enough to have leftovers. Sometimes we do though, and a lot of ingredients are versatile anyway. Making sure each meal for the day adds up to the recommended amounts of nutrients (more on that in the future!), I start putting them on the calendar. 


5) Make a Shopping List

Being sure I double check the things I already have, I make a list! It's easy. I write down every thing I'll need for each meal I'm preparing and take a poll, so to say. This way, I can be sure I'm getting enough of a certain ingredient. Note: I usually make two shopping lists. One for each shopping trip I need to take. This also helps me make sure that produce will last long enough, etc. Plus, I don't have to take extra time later on to make a completely new list. I can add to it if I run out of a staple or two during the week. 

Note: I group my list into sections according to what store I will be visiting. This way, I'm not jumping between sections and wasting time. 


6) Execute!

The one thing I really like about this system is that it's flexible. If I decide I don't want a certain meal one day, or if something comes up where we don't need to cook after all, it's easy to change it up and move it. It's basically just for my sanity. 


What do you think? Easy enough to try yourself?
Do you use another method? Comment below- I'd love to hear about it. I'm off to meal plan for this month now - a few days late... I'm a little behind in life these days :)