Maple Alps

I Quit Toothpaste for Two Months. Here's What Happened.

Natural LivingAmanda Walter | Maple Alps52 Comments

To me, toothpaste is one of those things that proves your adulthood. I have always said that one wasn't a true grown-up until they had to buy their own toilet paper and toothpaste. I rarely did either until last year - I would ask for a few tubes from home while packing my suitcases (I only needed 2 for a school year), and if you've read my post about saving money in school, you'll know that I used public toilets as much as possible. What I did know about toothpaste, however, was that my mom always bought the kind in smaller tubes with less ingredients and the higher price (funny how that works...). There are many unnecessary and even harmful ingredients found in stores today, so I always followed suit and bought the four or five dollar tubes. 

This particular endeavour all started the day we ran out of Tom's. Running out wasn't the problem. The problem was that I didn't really want to go and buy any more. It did create opportunity, however: I had been talking about making my own toothpaste - just to try it out. Now I had the perfect excuse to go through with it.


Today, I get to share with you how I did with the first two months of this experiment.

This post contains affiliate links

DIY Toothpaste could be for you! Eliminate extra toxins from your home.

First off: Why bother? Well, I mentioned the harmful and unnecessary ingredients in many toothpastes on the shelf. Here are a few:

Triclosan, which is a pesticide and disrupts hormones.

Sodium Lauryl Sulfate (SLS), which actually can cause canker sores! 

Fluoride, which can be toxic, and is not necessary in toothpaste

Artificial Colourings to make it blue or green - unnecessary!

Titanium Dioxide makes toothpaste white, but that's about it. 

Glycerin which makes the toothpaste pasty, but strips your mouth of the natural protective mucous and coats your teeth, which prevents them from remineralizing (think: cavity fighting gone wrong). Also, glycerin is found in soap, so that's weird...

Other abrasive ingredients that harm your  teeth!

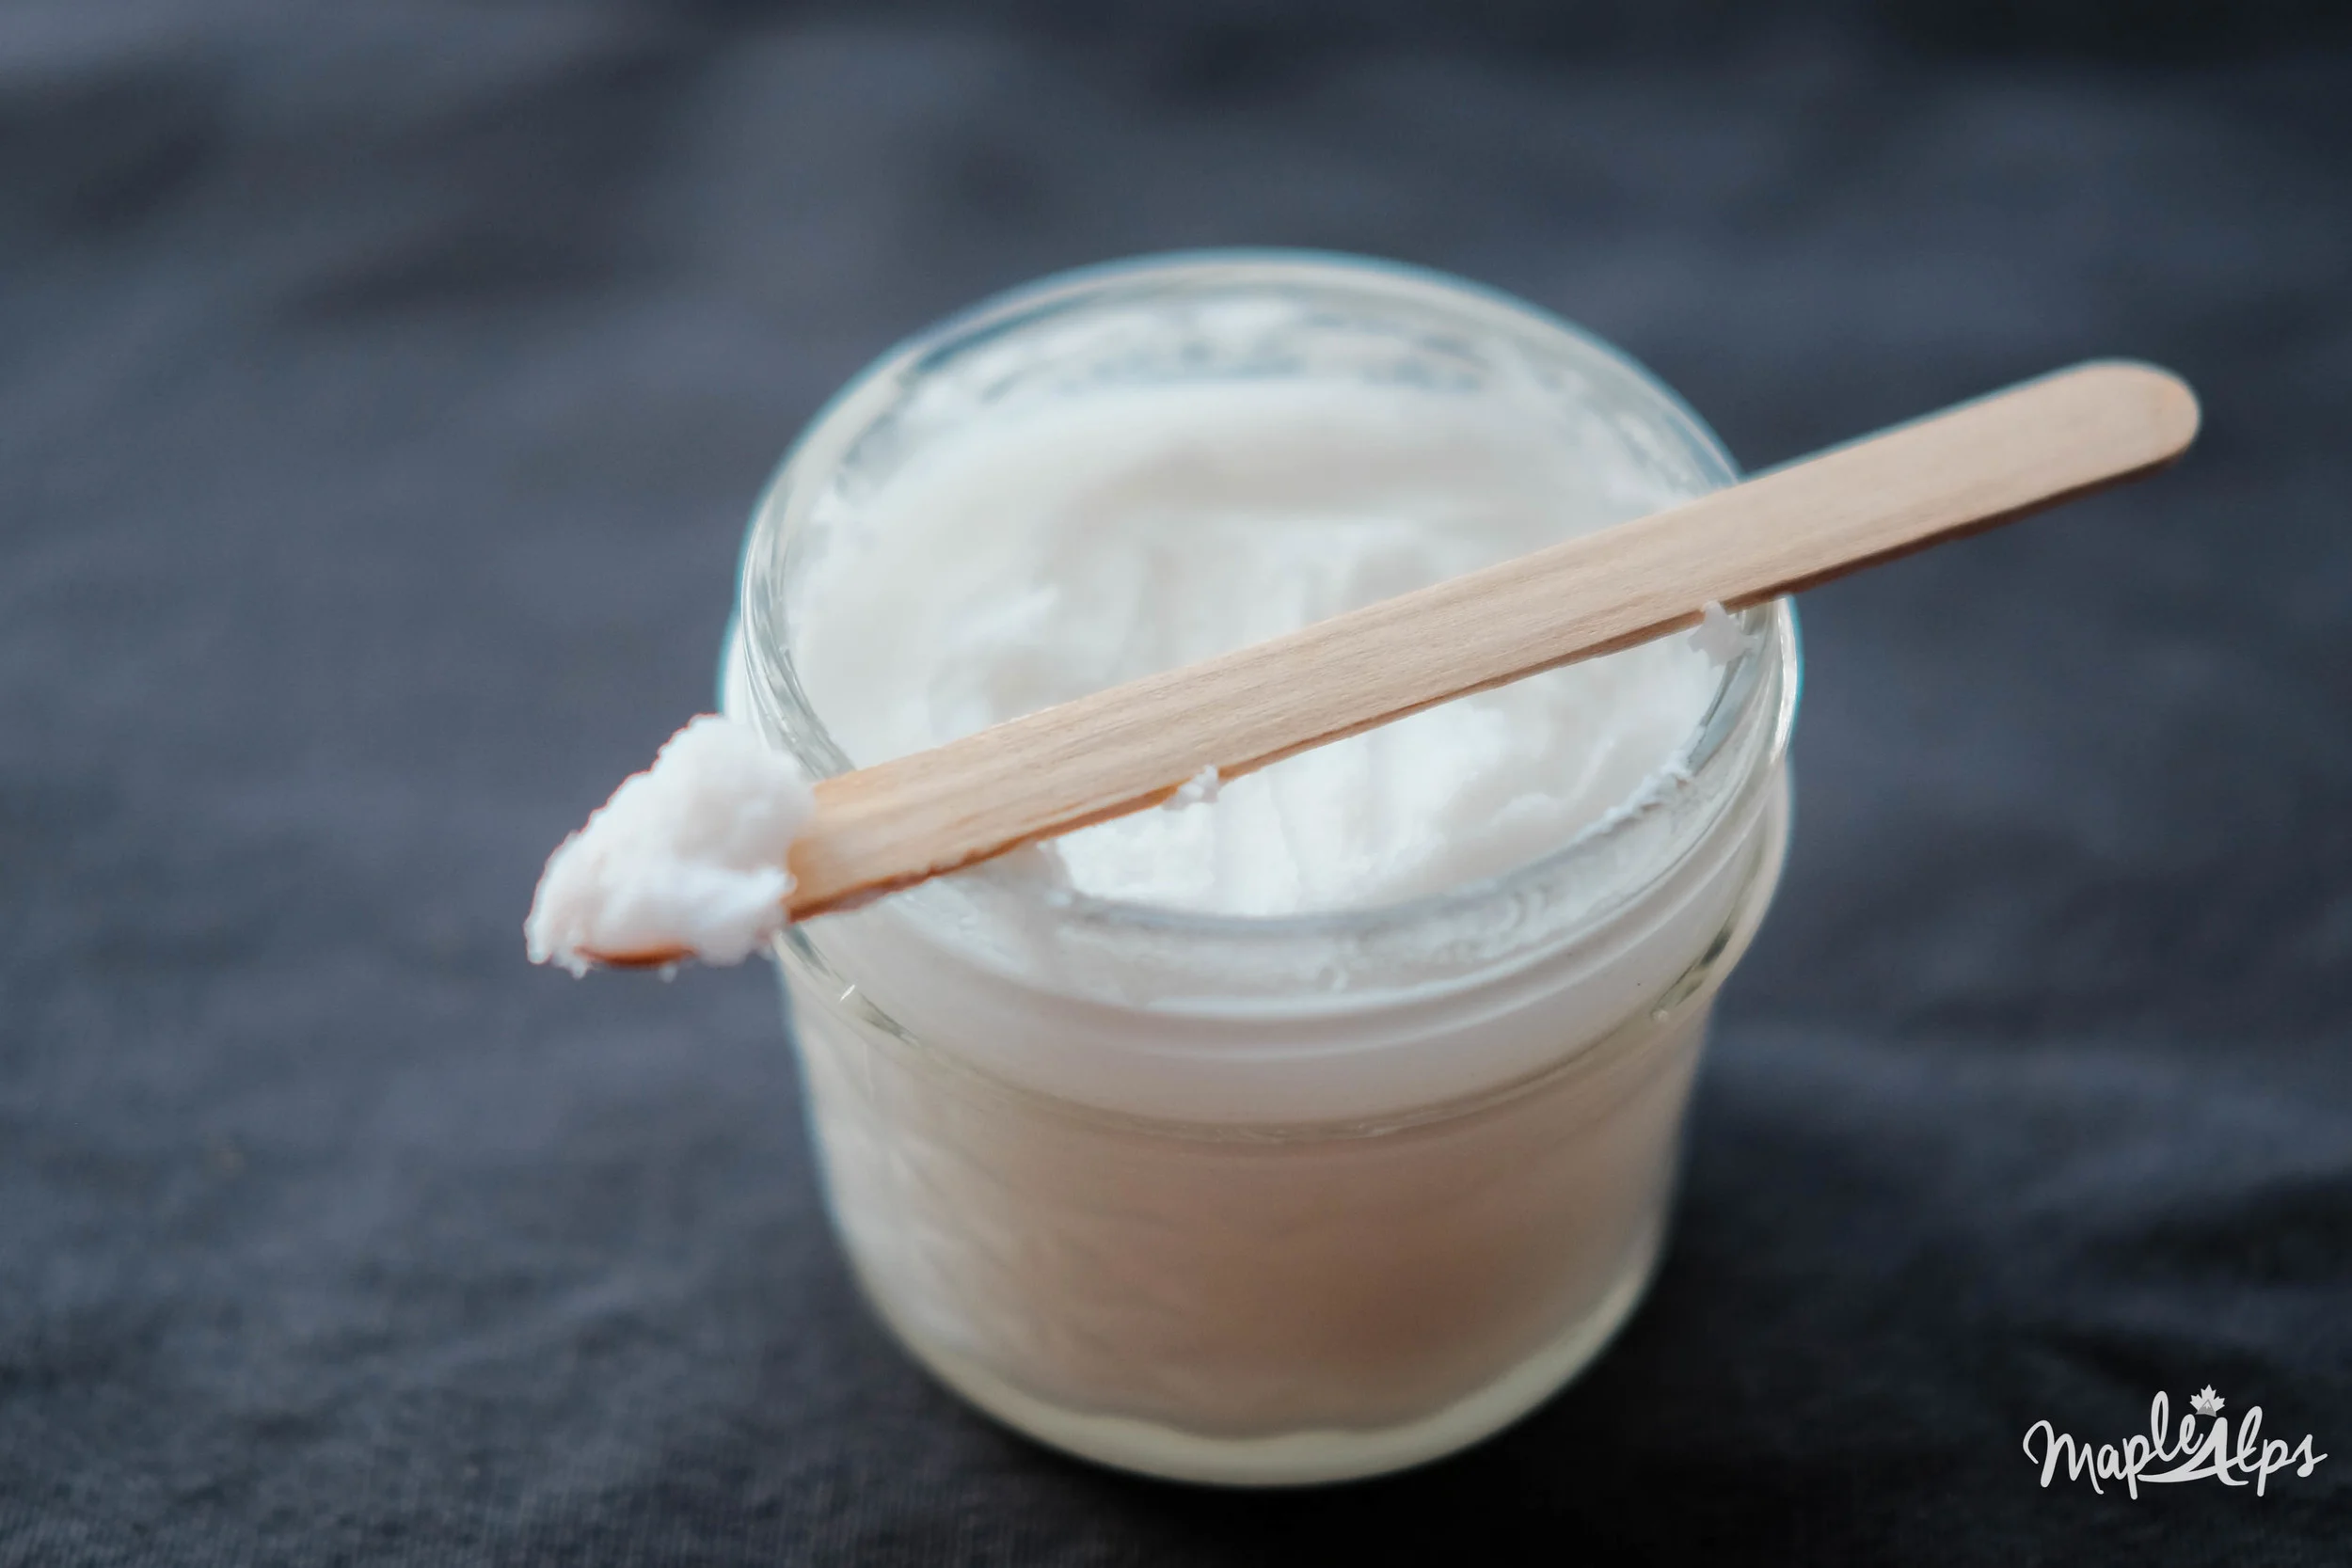
After some research of ingredients and recipes, I decided to go ahead and proceed with a simple concoction of coconut oil, baking soda and peppermint essential oil. Why?

Coconut Oil can naturally prevent candida in the mouth and allegedly beats bacteria and bad breath

Baking Soda helps maintain a good pH in our mouths - we're constantly sabotaging it with acidic foods - and protects our enamel from resulting decay.

Essential Oils help fight plaque and gingivitis (paired with brushing and flossing, of course).

DIY Toothpaste

Day one was a pleasant surprise - for me anyway... I at least knew to expect certain things, like the saltiness of the SODIUM Bicarbonate (I just didn't get it on my tongue until I absolutely had to) and the no suds. My husband, on the other hand, was a little disappointed about the whole thing. He didn't feel it would give him good breath since it wasn't stinging (his words, not mine). I find Tom's peppermint a bit strong anyway, so I was more than content. The next morning, he refused to brush his teeth with it because he didn't want to risk morning breath - which I understand, seeing as how he needs to talk to people all day. I had no morning breath left when I was done, in case you were wondering... :)

In all honesty, it's not going to taste like the toothpaste you're used to. Once you embrace the fact that it's something completely different, it will be easier to wrap your head around. 

DIY Toothpaste

After a few weeks of this toothpaste, I realized several things:

  • It was hard to travel with (kind of heavy and inconvenient in the jar) [Update: acrylic containers work really well for it]

  • My husband did not like the taste (understatement of the century, perhaps?)

  • I felt like my teeth were cleaner (probably all in my head, but still!)

  • Garlic/onion breath was way easier to conquer (a giant plus, since I LOVE garlic)

I decided to try an accommodate my husband by adding xylitol, which after some research I found, is a natural sweetener that has been proven to fight cavities (I'm still a bit weary of it, but you can read more about it here. I modified the recipe to accommodate it. I read that adding too much might make you start craving sweets, so I was very modest with it.

DIY Toothpaste

After adding xylitol, I decided that I preferred it without. Adding the sweet confused my tastebuds since the baking soda taste was still evident.

I have yet to find my perfect DIY toothpaste, though what I'm using now, I quite like! I'm going to the dentist this week, and not to sound overly excited or anything, but I bet they're going to be impressed with how squeaky clean my teeth are :)

And on that note, I have had a dentist tell me baking soda was good to clean your teeth with. So I guess that’s good?

DIY Toothpaste

Want to make your own? Here's a recipe:

What you need:

  • 3 TBSP Coconut Oil

  • 1-2 TBSP Baking Soda

  • 10-15 Drops Peppermint Essential Oil

  • (optional) 1 TBSP Xylitol (ground in food processor till fine for easier dissolving)

  • Toothbrush (I love using a bamboo toothbrush!)

What to do:

1) Melt coconut oil (I use double boiler effect: small bowl or jar in a pot with water) on low heat.

2) Once heated, remove from heat stir in baking soda. 

3) Add xylitol (optional - try this one from Amazon) and mix well.

4) Put in essential oils and allow to solidify.

5) Once solidified, you'll want to stir it up a but to create a smoother texture, and to better mix it, as the baking soda may have settled to the bottom.


I know that there are plenty of natural toothpastes out there, but if I can make an equally good one for a fraction of the price with [non toxic] items I have at home already, I would prefer that! I'm going to keep trying different toothpastes until I find one I absolutely love. You know I'll be back to share it then.

What about you? What do you think about making your own toothpaste? Want to try this one out? Do you already make toothpaste? Have any tips? Let me know in the comments below!


Update: I have since found a recipe I like even better!! Find out more about it here


Black Bean Brownies (vegan + gluten-free)

RecipesAmanda Walter | Maple Alps22 Comments

I realized the other day that I haven't really baked anything in a while. The husband and I aren't huge baking (cake, etc.) eaters, so unless it's for someone else, I don't bake anything but bread. The one thing we do make an exception for once in a while are brownies. 

Brownies are so great. I just love them when they're warm and gooey, but still chewy. We fight over the corner pieces all of the time. 

As I was browsing Pinterest yesterday, I came across a recipe for black bean brownies from Minimalist Baker. I had seen this recipe plenty of times, and those brownies always looked so delicious, so I decided that it was the day I would make them. I had all of the ingredients on hand anyway! 

I was so excited about this, I wanted to share and give my own review of this recipe. 

Vegan Gluten Free Black Bean Brownies: A Pinterest Review

The best part about this recipe was that I only needed a food processor and a baking pan. Easiest clean-up plan ever! I was a bit concerned after blending everything because the batter was a bit runnier than how I felt it was described in the original recipe. They baked seemingly great despite that! 

Black Bean Brownies

I added sliced almonds to the brownies because for some reason, the whole chocolate/almond combination was really calling out to me. Maybe next time I'll go with walnuts. I learned today that they're a great source of omega-3! I like mixing things up anyway.

Black Bean Brownies

Note to me for next time: They need quite some time in the pan to cool before putting them on the rack. I lost two because of my excitement in getting them out and cooled. Well, they "lost" their form, is all. I gobbled them up, gooey mess and all.

Black Bean Brownies

Honestly, I went for these because they were vegan and gluten-free, but I feel like they aren't the healthiest because there is quite a bit of organic cane sugar in them. They are pretty packed with fiber though.

In either case, they needed to pass the husband test, and I think they did! They have just the right amount of chewy outside and gooey inside. Nothing quite matches a real brownie, but this comes in pretty high on the list. By the way, they definitely taste better the second day - I would know, since I had one for breakfast.... :)

Black Bean Brownies

Makes 12 - Serves 1 Chocolate Craving Female
From Minimalist Baker

1 3/4 (1 15oz can) cups black beans, well rinsed and drained
2 heaping Tbsp Flaxseed Meal
6 (90g) Tbsp water
3 Tbsp (45 g) coconut oil, melted
3/4 cup (72 g) cocoa powder
1/4 tsp sea salt
1 tsp pure vanilla extract
1/2 cup (105 g) organic cane sugar, slightly ground (I ran it through my food processor)
1 1/2 tsp baking powder

Optional fun toppings: crushed walnuts/pecans, sliced almonds or semisweet chocolate chips

1) Preheat oven to 350 degrees F (176 C).
2) Lightly grease a 12-cavity standard size muffin tin. 
3) Combine the flaxseed meal and water in the bowl of the food processor. 
4) Pulse a few times and then let stand for a few minutes.
5) Add all other ingredients (besides toppings) and puree for  about 3 minutes. Scrape down the sides as required
6) If the batter is too thick, add a Tbsp or so of water and pulse again. It should be quite thick, but not runny.
7) Evenly distribute the batter into the muffin tin.
8) Optional: Sprinkle with toppings of your choice
9) Bake for about 25 minutes, or until the tops are dry and the edges start to pull away from the sides.
10) Remove from the oven and allow to cool for 30 minutes before removing GENTLY from pan (I used a spoon to help with that). The insides are meant to be gooey, so don't be too alarmed if they are quite moist. Besides, they're vegan, so it's okay :) 

Store in an airtight container for up to a few days. 


I would definitely recommend this recipe to anyone who is adventurous enough to try it out! As a matter of fact, I think I'll try these on a vegan, gluten-free (ultimate guide to gluten-free eating anyone?) friend next week!

What about you? Will you try making these A+ brownies this weekend?


Planning a Wedding? I Did That Once. Inexpensively.

MoneyAmanda Walter | Maple Alps25 Comments

I don't know about you, but right now my Facebook newsfeed is filled with engagement announcements and wedding countdowns. It's hard to believe that one year ago, I was posting my own announcement!

With the wedding season approaching, I couldn't help but think back to my own experience and excitement of planning a wedding and getting every detail just right (not that it really mattered at the end, because even with things going awry, it was the most perfect day ever!).

For us, our biggest obstacle in pulling off a wedding was the cost. Weddings can get crazy expensive, with the average wedding costing over $20,000! Since my (now) husband and I are both savers, it went without saying that we wanted to spend as little money as possible on the wedding. We were just out of school with not a penny to our names and moving to a new country! Starting life is expensive, and we didn't want to spend everything we had on a wedding.

We had to get a bit creative when saving money, so I thought for fun I would share some of the ideas we went through with!

How we avoided spending $20,000 on our wedding

We Got Creative with Our Venue

The only thing we knew was that we wanted to get married outside. The where was a big question. We looked up venue after venue, and though beautiful, none of them were within our budget. I don't know when the idea struck, but I remembered a family friend who had a gorgeous backyard and made a phone call. They were delighted to have the wedding there! Due to rain, we didn't get our outdoor wedding after all, but their home made for a perfect shelter and ceremony/reception spot. 


We Made All of the Flowers

Not a fresh flower was to be seen. From the bouquets and boutonnieres to the table decor, we made every single one. I had people thinking I was crazy and that it would look tacky, but it turned out spectacularly wonderful. All of the flowers were made out of maps and sheet music to go along with our themes of travel and music. It was a blast - and a lot of work. The only flowers we didn't make were the ones on our arch. A family friend had those already in her decoration stash! As the date of the wedding got closer, we enlisted more help. It was a fun and bonding experience, sitting around the table making them :)


Favours Were Called In

We called in a lot of favours from family and friends to help us out. They were all glad to do so! A cousin baked our gorgeous wedding cake, and a friend who was a hair stylist did my hair! Our families helped prepare all of the [delicious] food and we had quality live music for our ceremony from our musician friends as well! The other bonus to all these favours, were that it provided awesome opportunities for those we love to take part and make special memories.


I Found a Pre-Loved Dress

Never underestimate the amazingness of a pre-loved dress. There's more love in it, plus you get a very discounted price! Whoever wore it before you likely wore it once, and you will likely do the same. If you don't intend on keeping your dress, you can easily take it to a consignment store, or sell it yourself, once it's cleaned.


We Didn't Underestimate DIY

In addition to the flowers, we made almost everything for the decor. I did the centrepieces, the guest globe, the name cards, the photo booth.....just everything. There was a LOT of spray paint involved! Since I like to be creative in reusing things, I used a lot of the things I already had on hand, which saved us both money and headaches.


Our Invitations Were Digital

I don't necessarily recommend this one, but we designed and sent out digital invitations. I personally wanted physical ones (I adore snail mail and pretty stationary), but we were definitely in favour of saving money on postage and invites. Beside the venue, this is probably where we saved the most. To compromise, we settled on using Paperless Post, which simulated opening a letter. I liked that, and I was comforted in the fact that not many people keep wedding invitations anyway.


We Had a Short Engagement

This doesn't seem like it would save us money, but it really did! All of our planning and DIY-ing had to be done and executed in 5 months. Had our engagement been longer, things would have added up slowly over time. Our guest list would have been much longer (which would have resulted in a more expensive venue and more food), and I would have likely made decisions and then change my mind (I'm extremely indecisive), costing us money later.


So there you have it. Some of the ways we avoided spending a great amount on our wedding.

In the end, it's not how much you spend on a wedding that makes a great marriage. A wedding lasts a day, and a marriage lasts a lifetime.

Note: We did splurge on one thing: our amazing photographer. Our picture memories are something we want to look back on and remember forever. You can check her out and some of our wedding photos at her blog, here!


The Ultimate Decluttering & Deep Cleaning Guide for your Home!

LifestyleAmanda Walter | Maple Alps34 Comments

A few days ago, I wrote up three points to help prep for simplifying and decluttering your home in time for a good Spring cleaning! Today, as promised, we will go more into the actual process itself. I love a good declutter! 

If you didn't get a chance, hop on over to the previous post so you can be all caught up! Preparation and intentionality are key to making this work :)

 I think I could write separate, detailed posts about each of these, but I spared you and condensed everything in a few points per room. I so do love lists, don't you? Of course, everyone is different and has different decluttering needs. This is meant to be a guide to help you with your decluttering and simplifying.

The Ultimate Decluttering & Deep Cleaning Guide for your Home! | www.maplealps.com

First, let's tackle some excuses we might come up with for items. Ideally, you want to only touch each item once in this process (do you have your boxes/bags ready?):

Sentimental Items. These are probably the hardest thing to deal with. If someone special gave you an item, or a certain item holds a fond memory, it may be hard to let go! This was actually the biggest thing that kept me from making radical decisions when it came to decluttering. I had boxes of cards that people had given, and items that collected dust on shelves. Before I knew it, I was overwhelmed - but I still couldn't give them up. It took a while before I realized that a lot of these things were just clutter in my life. I finally went through everything and managed to decide on a few items to keep in a memory box. Everything else I took pictures of (if I deemed it worthy) and donated/sold/threw out the rest.

Items you think you might need in the future. Honestly, if you haven't used it by now, you likely won't. Accept that it is just taking up space, and it needs to go. I should probably let go of the ice cream maker I have hiding in my cupboard now that I think about it...

Items that were expensive. Yeah, that happens - we don't always make the best purchase decisions. Everyone makes mistakes. But if you're not using it, why are you holding on to it? Think about other purchases you likely don't make too wisely, like the phone plan you spend way too much on or all those fast food stops. Though not material, a lot of money goes into these things for some people. Is it any different? Something to chew on anyway (no pun intended). 


Bedroom
  • Be honest about your clothing - Oh man, I think I could write a complete separate post about this one. Get rid of everything that doesn't fit, is worn out or beyond repair, things that you don't love wearing, and items that you haven't worn for a year (if you didn't wear it last summer, you probably won't wear it this summer either). I like to use thredUP to send my great condition clothing to and make a little money (Send your used clothes there to sell! And buy great second hand items there too! Here’s a link for $10 for you to use to find something you actually love!)

  • Accessories, shoes and scarves too! - Say goodbye to the accessories and scarves you don't wear anymore or don't fit your style. Trust me, you'll feel better once you do!

  • Critique your sock drawer - it's time to let go of the socks that have no partner and the underwear with, gasp, holes! Anything with worn out elastics probably should be purged as well.

  • Remove things that shouldn't be in your bedroom at all! - Your bedroom is for sleeping and dressing and escape. Why is there a toothbrush in your closet and a rubber duck under your bed?

  • Reduce items on surfaces - Clear the top of your dresser and your side tables, and limit items to 3-5. It's soothing to see clear surfaces.


Kitchen
  • Get rid of unnecessary duplicates - Do you really need 5 whisks and 9 sauce pans? Chances are that your burner can't handle that many pots at a time anyway...

  • Spices and canned food that are outdated or you never use - Don't forget to check your fridge and freezer! I like to use bins in my cupboards and fridge to keep things organized :)

  • Extra dishes you never use - Also the ones that are broken/or chipped.

  • Small appliances you don't use - Remember that ice cream maker I mentioned earlier.....?

  • Containers with no lids - If you have a giant drawer full of Tupperware with mismatching lids and pieces that are no longer useable, I urge you to please, please get rid of them. Limit and organize!

  • Linens - That one ratty dishcloth needs to go. You know the one I'm talking about.

Related: DIY All-Purpose Cleaner


Bathroom
  • Throw away soaps, lotions, cosmetics, etc., that you haven't used in a year - or don't plan on using (think of all of those Christmas sets you received last year). You also probably don't need six tubes of lipstick...

  • Expired medication - Medication should not be kept in the bathroom due to moisture anyway. Take expired goods to a pharmacy to be disposed of properly.

  • Duplicates - The four boxes of bandaids under the counter are probably not necessary. Weed through and consolidate.

  • Linens - Get rid of completely worn out towels and those with holes in them. Five towels per person in the household is also a bit excessive...decrease to two and add one or two for a guest.


Living/Family Room
  • DVDs, CDs and Video Tapes - In this digital age, do you really need or use these? Digitalize what you can and get rid of the rest.

  • Magazines/Newspapers - Get rid of editions you don't read or need anymore unless you're planning on making a collage TODAY. Otherwise, say goodbye. I agree, there's nothing like flipping through a magazine, but digital copies do help keep clutter down if you would consider...

  • Games that are missing pieces or games you don't play - replace pieces if you really like a game, but get rid of games or toys that aren't played with! You really don't need them.


Office
  • Papers! - Unless you've gone paperless (we'll tackle digital clutter next), you have likely collected quite the amount of paper! Go through old papers and shred what you no longer need, and file what you do. If you are not completely sure about something, I would vote scanning and still shredding it. Just don't shred your birth certificate. Not a good idea.

  • Clear off your desk - Keep what you leave on your desk to a minimum. It's much easier to get work done that way anyhow.

  • Junk Drawer? - I will admit I had one of those in my desk - until I decluttered. It is now an orderly collection of materials I need. I had some random things in there - like key chains and old batteries...it was a scary sight. You don't need these things either! It's such relief when I can go in there and find the essentials I'm looking for right away.


Computer
  • Emails - this is a large undertaking indeed. Delete all time sensitive emails (expired coupons, deals, etc.) and emails you no longer need. Archive important emails.

  • Contacts - there are probably a lot of contacts you no longer need to have - like your brother's best friend's sister's cat's previous owner, with the email, fuzzyfeline@catlover.com.

  • Pictures - I feel as though I'm constantly cleaning my photos because I neglect to do it right away. You don't need blurry pictures that are impossible to decipher...and that one photo you took 50 times to get a perfect shot? Just keep the one perfect one.

  • Create a filing system and stick to it - Create a system that works for you. Folders can be your best friend! Go through old documents and get rid of ones that are no longer relevant or useful. Digital clutter is a real thing!

  • Clear your desktop - Having a clear desktop is amazing. Clear it off after every project to avoid having to search through it, wasting time and energy.

  • Feeling ambitious? - Back up all of your files and reset your computer to the factory settings! It feels great - like getting a brand new computer! I do this on my devices once a year.


Garage/Attic/Basement
  • Go through boxes of stuff - you know the ones I'm talking about. You probably haven't looked through these boxes in years - do you really need to keep what's in them?

  • Throw out old paint, oil, cleaning supplies, boxes, newspapers, etc. - do it responsibly though and recycle what you can :)

  • Get rid of tools you never use - if you haven't used that electric saw or wood detailer ever, you might just want to sell them...

  • Exercise equipment - commit to using it, or say goodbye.

  • Holiday Decor - Do you still use that wreath from 1978? No? Toss it. Consider minimizing your decor in general - less is more!


Computer
  • Go through the glove compartments - There might be more trash in there than useful items! Organize or throw away receipts and other papers (important papers fall under the 'organize' category, okay?).

  • Check the trunk - The less weight you have in your car, the better! At one point, I had a few half-filled bottles of antifreeze in my trunk... Consolidate what you can and store everything else away properly. You should keep that extra blanket in the trunk though.


Phew. I think that's enough for now. Did I miss anything? If you've ever decluttered before, you likely know what a difference it makes in your life. 

Do you plan on decluttering and simplifying your home this Spring? I hope so! In this case, I wish you a happy decluttering and a wonderful weekend! 


Ecclesiastes
 
 
The Ultimate Spring Simplifying Guide