Maple Alps

DIY

4 Simple DIY Moisturizing Face Mask For This Winter

Natural LivingAmanda Walter | Maple Alps6 Comments

The cruelty of winter on our face requires that we give it an extra moisturizing boost once in a while. Whether it’s outside where the air is freezing and dry or indoors where we’ve cranked up the heat on maximum, the winter season results can be brutal on our skin!

A simple solution for this would be to go out and purchase a moisturizing mask. However, sometimes we just don’t feel like spending all that money on face masks. Plus, who wants to go outside in this horrible weather when we can just stay at home and cozy up in front of the fireplace?

 For this reason, we’ll help you explore and browse through your fridge items and use everyday items to create 4 simple DIY moisturizing face mask for this winter!

And even though it might seem weird at first, these DIY masks can be even more effective than store-bought ones. Plus, you’ll know that everything you apply on your skin is completely natural and doesn’t cause any irritation to your sensitive winter skin. 

 
4 Simple DIY Moisturizing Face Mask For This Winter | www.maplealps.com
 

1.    Avocado Mask

Avocados are full of healthy fatty acids, vitamins, and minerals that will deeply nourish and moisturize even the driest skin. Vitamins E and A in the avocado will gently feed and repair the tiny cracks of your dry skin, while its rich antioxidant content will fight off aging skin and destroy free radicals. For an even stronger moisturizing effect, mix the avocado with olive oil, yogurt, and honey, all of which with incredible hydrating effects.


Ingredients for the Avocado Mask:

●      Avocado – half
●      Honey – one teaspoon
●      Olive oil – one teaspoon
●      Yogurt – one tablespoon


Preparation: Smash half an avocado with a fork as much as you can, until there aren’t any large chunks of it left. Making the avocado as smooth as possible will allow a better application. Next, mix the avocado paste with one teaspoon of honey (best effects can be seen with raw honey), one teaspoon of olive oil, and one tablespoon of yogurt.

Mix well and apply on your face. Leave the mask on for 15 to 20 minutes and then rinse well with lukewarm water. You will immediately notice a huge difference and your skin will feel incredibly smooth! 

 
4 Simple DIY Moisturizing Face Mask For This Winter | www.maplealps.com
 

2.    Banana Mask

Bananas are rich in potassium, which is known to be a deep moisturizer for dry skin. Furthermore, they contain Vitamins B and A, as well as amino acids which will give your skin an extra boost of strength and elasticity. In this banana mask, we will also add yogurt which contains calcium and lactic acid – known for their skin benefits. And finally, our third and last ingredient will be olive oil which is an incredible hydrating oil that keeps moisture in.


Ingredients for the Banana Mask:

●      Banana – 1, ripe
●      Yogurt – 1/3 cup
●      Olive Oil – 1 teaspoon


Preparation: Use a fork or a similar tool to smash one ripe banana until there aren’t any chunks and large pieces left. The smoother you make this banana paste, the less messy the application process will be. After you’ve pureed the banana, add 1/3 cup of yogurt and 1 teaspoon of olive oil and mix all these ingredients together. Once you’ve prepared your mask, apply it with your hands or a clean brush and wait for 15 to 30 minutes.

 After that, wash off the mask with lukewarm water and gently pat-dry your face. The results will be amazing!

 
4 Simple DIY Moisturizing Face Mask For This Winter | www.maplealps.com
 

3.    Coconut Oil Mask

Coconut oil is one of the best ingredients when it comes to DIY moisturizing face masks. Not only that it smells divine, but it’s also one of the most hydrating oils ever! Aside from that, coconut oil has antiviral and antibacterial properties which will prevent acne formation. The best addition to a coconut oil mask is brown sugar. Exfoliation is a “must” for dry winter skin, and brown sugar is the perfect way to make this 2 in 1 mask + exfoliator.


Ingredients for the Coconut Oil Mask:

●      Coconut Oil – 1 tablespoon
●      Brown Sugar – 1 tablespoon


Preparation: Coconut oil is solid in cold temperatures, so you will need to leave it to melt either at room temperature or to heat it up a bit. However, make sure that you don’t make the oil warm or hot. Once you’ve melted your tablespoon of coconut oil, add 1 tablespoon of brown sugar. Apply this mask by massaging it on your face in circular motions.

This will exfoliate your skin incredibly well! After you’re done with exfoliating and applying the mask, leave it on for 10 to 15 minutes. Finally, rinse your face with lukewarm water and feel the bliss! 


4 Simple DIY Moisturizing Face Mask For This Winter | www.maplealps.com
 

4.    Egg White Mask

Our final suggestion for those cold winter days is the egg white mask. Egg whites are high in collagen and proteins which will bring back your skin’s youth and elasticity. Trust us, you’ll feel 10 years younger after this mask! Aside from the egg white which will tighten your skin, this mask also contains almond oil for hydration, as well as oats which are some of the best natural moisturizers and gentle exfoliators.


Ingredients for the Egg White Mask:

●      Egg White – 1
●      Coconut Oil – 1 teaspoon
●      Oats – small handful


Preparation: First whisk the egg white with a fork until it’s white and foamy. Next, add 1 teaspoon of liquid coconut oil and mix it together with the egg white. And finally, add a small handful of oats into the mixture. Combine together all these ingredients well, and your mask is ready. Start applying the finished product on your face with the help of your fingers or a clean brush.

It’s best to apply the mask while you’re wearing old clothes and standing over the bathroom sink because it can be a bit messy. Leave the mask on for 15 to 25 minutes, or until you feel that the egg white is starting to dry. Then, rinse it with warm water and pat-dry your skin. 


The above 4 simple DIY moisturizing masks for this winter will all give you incredible results, just like any expensive store-bought mask would. So, don’t hesitate to try them all and tell us your impressions! 


4 Simple DIY Moisturizing Face Mask For This Winter | www.maplealps.com

My name’s Manoju or Manju as my friends like to call me. I blog at Mangolift.com and I believe that no one should be judged by their appearance. I started Mangolift to help people improve their skin and so that they can walk with their heads up high.

If you are interested in guest posting, check out the guest posting guidelines for Maple Alps, here.



DIY Vegan Chicken-Style Seasoning

RecipesAmanda Walter | Maple Alps4 Comments

Growing up, we would have McKay's Chicken-Style Seasoning on occasion (especially since I was mostly vegetarian). However, the stuff is crazy expensive, in my humble opinion, and it contains ingredients not suitable for our current lifestyle such as MSG and lactose. Lactose!! I was honestly shocked when I picked up a jar to read the ingredients! 

The only solution was to make some myself. It took a few months before I got something I like, but I have finally done it. I felt that sharing it was almost a duty. I was so excited about this I could hardly wait!

This post contains affiliate links

DIY Vegan Chicken-Style Seasoning | www.maplealps.com

It's not as salty as the original, which I actually prefer (you can always add more), and the flavour is out of this world - well, actually it's out of my pantry, but that just makes it that much easier for YOU to make too!

I use it in pretty much everything - soups, sauces, gravies, you name it!

DIY Vegan No Chicken-Style Seasoning | www.maplealps.com

Vegan No Chicken-Style Seasoning

What you need:

  • 1/2 C Nutritional Yeast Flakes

  • 2 TBSP Sea Salt

  • 4 tsp Garlic Powder

  • 2 tsp Onion Powder

  • 4 tsp Celery Salt

  • 4 tsp Turmeric

  • 4 tsp Parsley

  • 1 tsp Basil

What to do:

1) Combine all ingredients and mix well - either in a mortar and pestle or food processor.

2) Store in airtight container for up to 4 months.


Natural Deodorant Spray

Natural LivingAmanda Walter | Maple Alps15 Comments

Hello my lovely people! So today's post is going to be a bit different, but hopefully not too smelly! As you all know, we really try to cut down the amount of harmful chemicals in our home and one way we do that is making our own products from natural ingredients. On a side note, this also really helps us save our pennies, because the natural products we make cost only a fraction of a natural product we would buy that does the exact same thing. For the past couple of months, I've been trying out different homemade deodorants, and today I will tell you why, and about one "deodorant" in particular, as well as my experience.

This post contains affiliate links

Two-Ingredient deodorant. Natural, easy and super effective! | www.maplealps.com

For years, I've heard about all the terrible things in a lot of the deodorants we find on store shelves today. One ingredient I always associated with "bad" deodorant was aluminum being linked to breast cancer, but of course I needed to find out for myself. After all, I grew up in a family that taught hygiene and that smelling good was only polite - and deodorant is a part of that. I mean, who doesn't love smelling good?! However, after some research, it appears as though aluminum is not the only negative thing about this particular product, and I should perhaps find an alternative. Of course, there are mixed reviews. Some studies show that while antiperspirant use does alter the bacterial communities in our armpits, further study is needed to show exactly what this means (February 2016 source). My conclusion is that I want to use the most natural things I can. 


A little breakdown of some common ingredients found in deodorant:


Aluminum has been a discussion for years - and not just within the deodorant/antiperspirant realm. Sweating in and of itself is actually a good thing, but aluminum compounds blocks sweat ducts (hence, antiperspirant) and has allegedly been linked to breast cancers. 
"Fragrance" is also something to avoid. I talked about this in the DIY Foaming Hand Soap post, but FDA laws allow the word "fragrance" on our labels to include whatever the product makers want. It's considered a trade secret of sorts. I don't even want to know the kinds of toxins that are included under that umbrella.
Triclosan is another one I've mentioned, and even small amounts of it is discouraged. Not only is it bad for humans (even low levels can lead to thyroid issues, etc.), but once it gets into the environment (waste water treatments can't remove all of it), it is harmful to aquatic life. It's also known to irritate the skin.
Parabens are preservatives found in many deodorants. They have been linked to breast cancer as well, with traces being found in human breast tumors. Read more about parabens and breast caner here.

I could go on, but I'm already convinced. For you, however, read about more ingredients here and find additional information here. I read both of these and found them quite enlightening. 

two-ingredient deodorant. Natural, easy and effective. | www.maplealps.com

Despite conflicting research and information, I've made the decision to use natural ingredients as much as I can. I didn't need to read more studies to convince me to make a more natural choice.


Enter: Deodorant spray.


I first came across this spray while reading one of my frequently read blogs, Sweet Simple Living, and became intrigued! I researched the ingredients Rachel used, checked out her sources, and decided that this was something I would try. 

Magnesium oil is the main ingredient in this spray. It's actually not oil at all - it only feels like oil, which is why it doesn't stain your clothes (Read more about magnesium oil from Wellness Mama, here.). An extra benefit of this deodorant spray, is that your body will get some magnesium from it as well - which could lower stress and help with your sleep! It was easy to make with magnesium flakes - dissolving them in water to create the "oil" and then adding an essential oil to it.

Magnesium Flakes | www.maplealps.com

All I had to do was put on a few sprays and let it work it's magic. I expected a little tingle, as was described by Rachel, and that really was the case. Except it was itchy and tingly. Really itchy. If you know me, however, the more painful it is, the more it must be working, so I was rejoicing and ready for the day. It stung less the more I used it, of course.

While I did find that the spray was effective, I also concluded that it was a bit...messy to use if I wasn't careful to let it dry. I found that if I put clothes on before it was absorbed, I had an "oily" shirt (Do note that it didn't stain my clothes at all. It came right out in the wash). For maximum effectiveness, I needed to apply this twice a day, which was fine, as long as I wasn't in a hurry. If I didn't bother with the second application, I didn't smell bad at the end of the day, but peace of mind is everything to me. 

1/2 C (4 oz.) magnesium flakes

1/2 C (4 oz.) distilled water (make sure it's distilled to extend shelf life)

10-15 drops essential oils (I've tried tea tree and peppermint)

1) Boil the distilled water. 

2) Add magnesium flakes and allow to dissolve

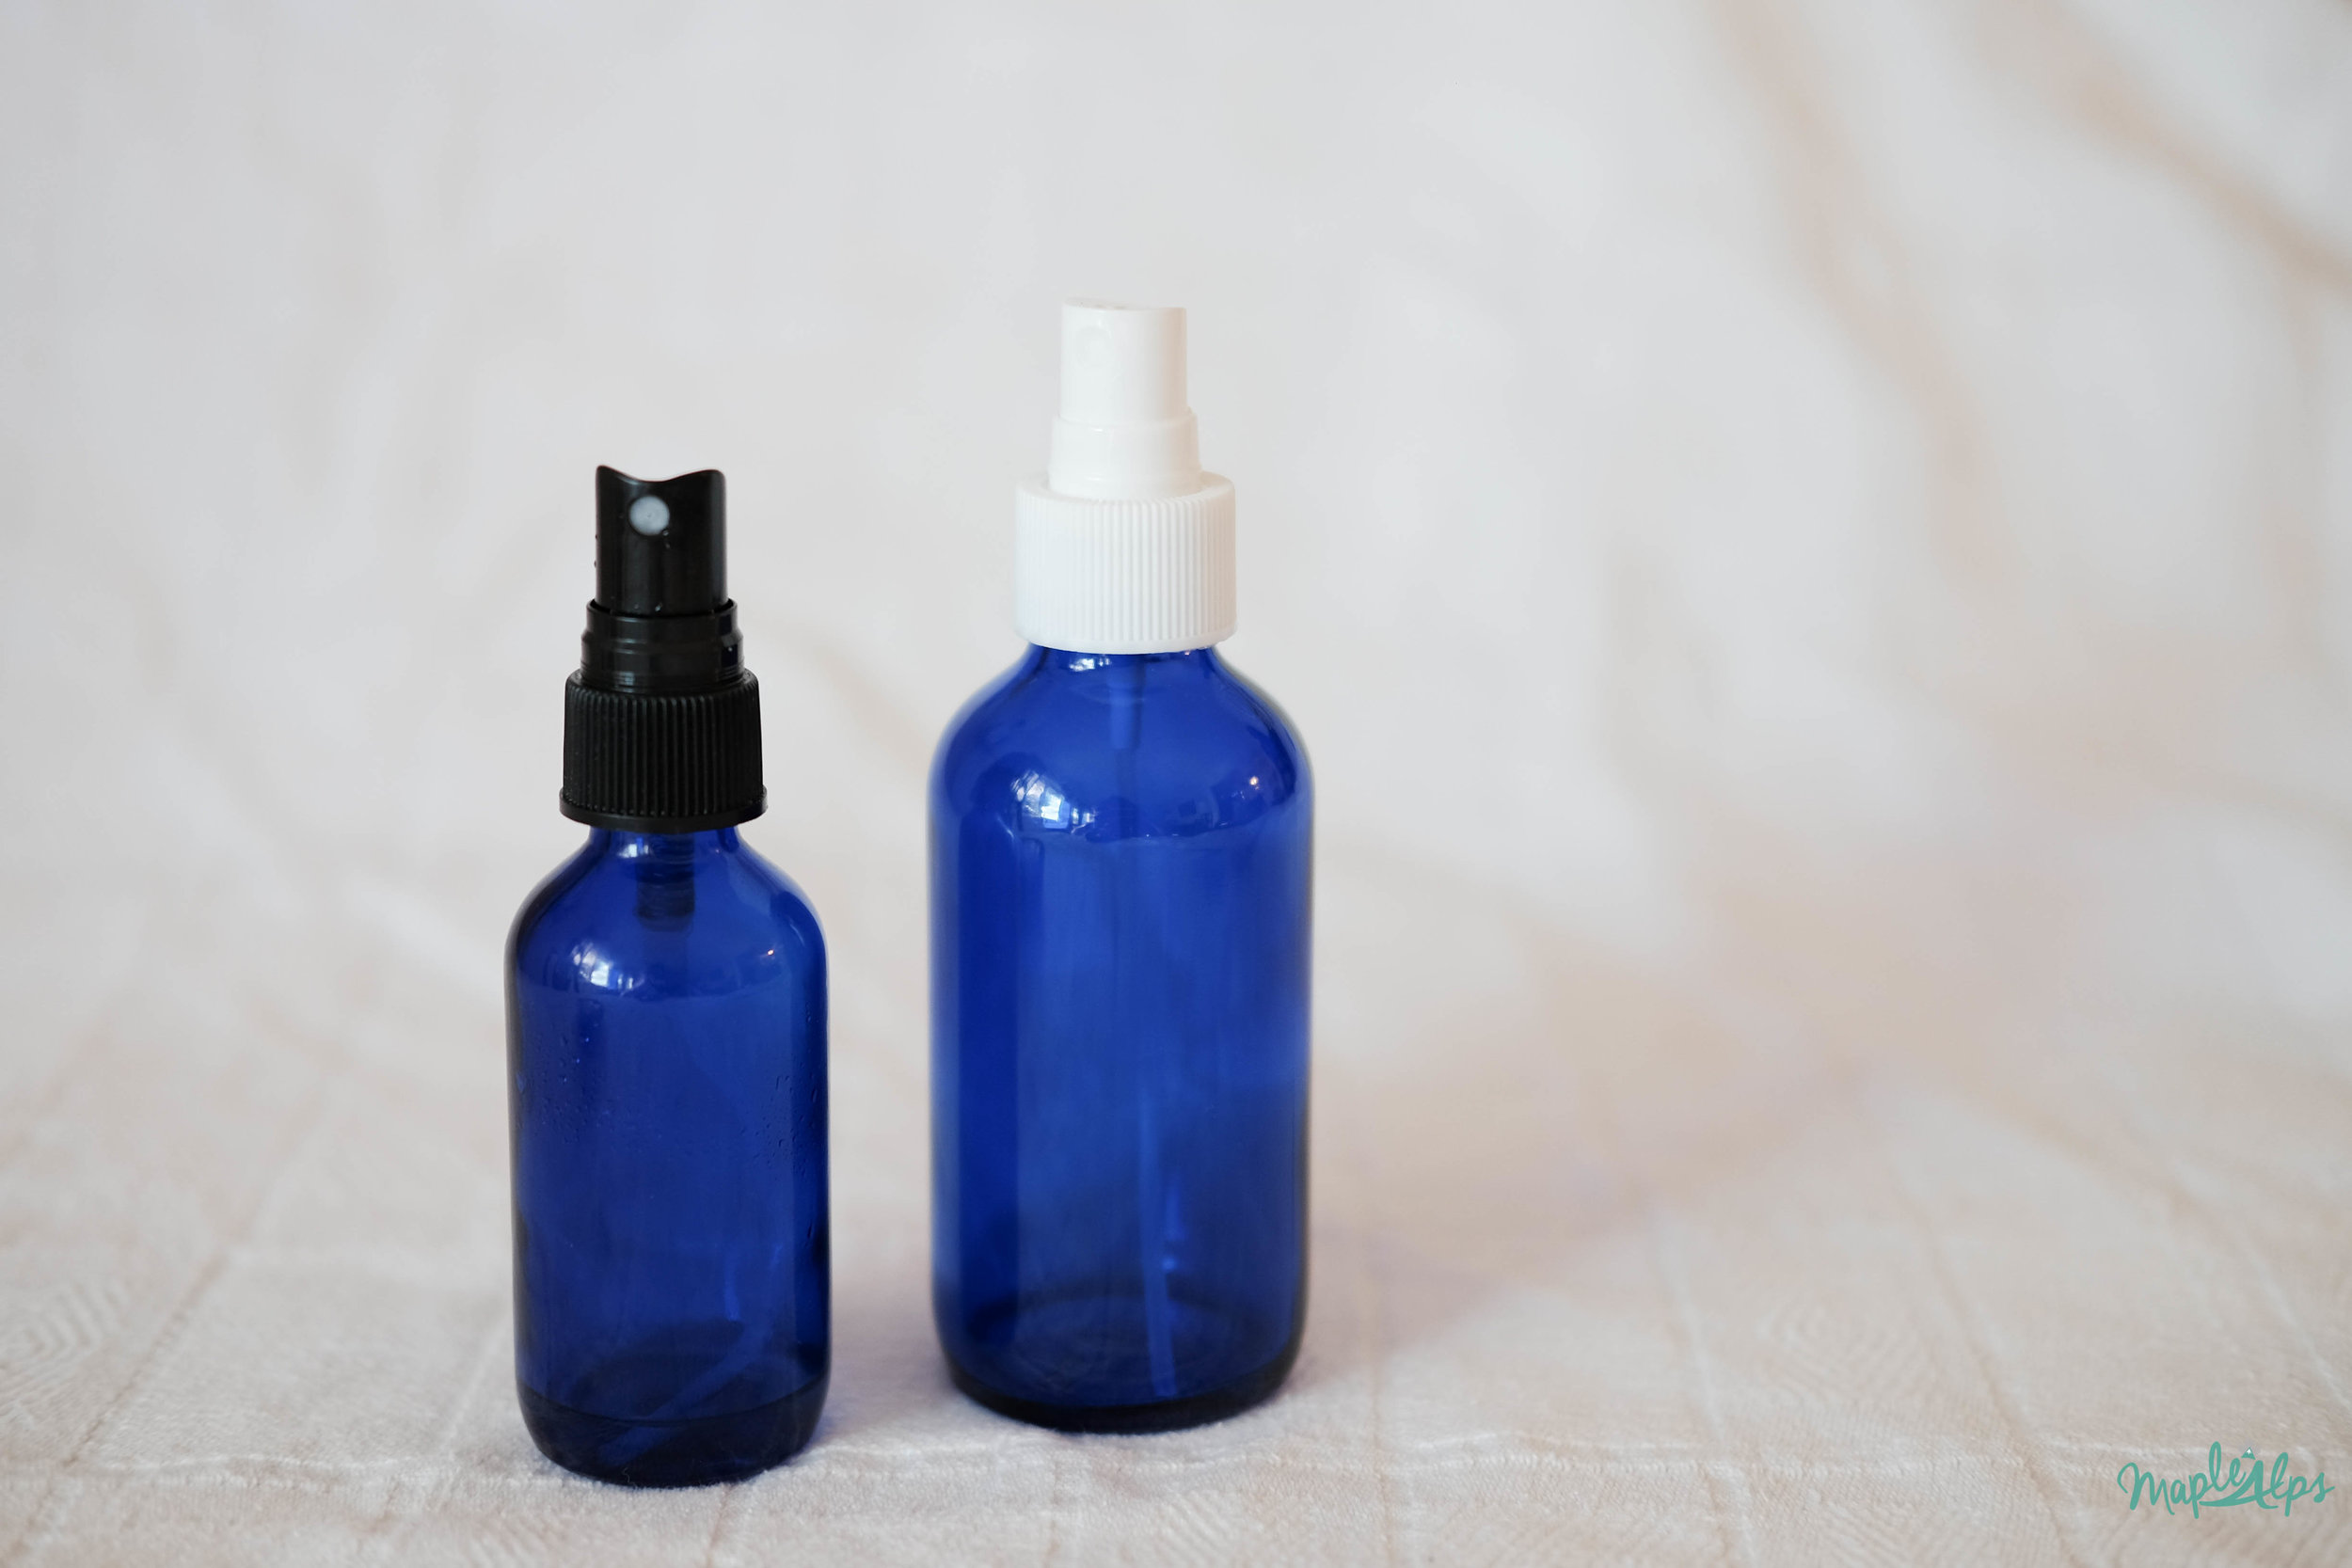
3) Allow to cool completely then add to 4oz. glass spray bottle (I use these ones)

4) Add essential oils

To Use: spray on, rub in a bit, and allow to dry.

In conclusion: I would totally recommend this. I can't deny that it works. There's no nasty residue, and feels fresh. I never mind an extra dose of magnesium either! 

Homemade Natural Deodorant | www.maplealps.com

What about you? Would you ever try a natural deodorant? Have you? What about this one? Leave a comment telling me about it - I'm all ears!


Planning a Wedding? I Did That Once. Inexpensively.

MoneyAmanda Walter | Maple Alps25 Comments

I don't know about you, but right now my Facebook newsfeed is filled with engagement announcements and wedding countdowns. It's hard to believe that one year ago, I was posting my own announcement!

With the wedding season approaching, I couldn't help but think back to my own experience and excitement of planning a wedding and getting every detail just right (not that it really mattered at the end, because even with things going awry, it was the most perfect day ever!).

For us, our biggest obstacle in pulling off a wedding was the cost. Weddings can get crazy expensive, with the average wedding costing over $20,000! Since my (now) husband and I are both savers, it went without saying that we wanted to spend as little money as possible on the wedding. We were just out of school with not a penny to our names and moving to a new country! Starting life is expensive, and we didn't want to spend everything we had on a wedding.

We had to get a bit creative when saving money, so I thought for fun I would share some of the ideas we went through with!

How we avoided spending $20,000 on our wedding

We Got Creative with Our Venue

The only thing we knew was that we wanted to get married outside. The where was a big question. We looked up venue after venue, and though beautiful, none of them were within our budget. I don't know when the idea struck, but I remembered a family friend who had a gorgeous backyard and made a phone call. They were delighted to have the wedding there! Due to rain, we didn't get our outdoor wedding after all, but their home made for a perfect shelter and ceremony/reception spot. 


We Made All of the Flowers

Not a fresh flower was to be seen. From the bouquets and boutonnieres to the table decor, we made every single one. I had people thinking I was crazy and that it would look tacky, but it turned out spectacularly wonderful. All of the flowers were made out of maps and sheet music to go along with our themes of travel and music. It was a blast - and a lot of work. The only flowers we didn't make were the ones on our arch. A family friend had those already in her decoration stash! As the date of the wedding got closer, we enlisted more help. It was a fun and bonding experience, sitting around the table making them :)


Favours Were Called In

We called in a lot of favours from family and friends to help us out. They were all glad to do so! A cousin baked our gorgeous wedding cake, and a friend who was a hair stylist did my hair! Our families helped prepare all of the [delicious] food and we had quality live music for our ceremony from our musician friends as well! The other bonus to all these favours, were that it provided awesome opportunities for those we love to take part and make special memories.


I Found a Pre-Loved Dress

Never underestimate the amazingness of a pre-loved dress. There's more love in it, plus you get a very discounted price! Whoever wore it before you likely wore it once, and you will likely do the same. If you don't intend on keeping your dress, you can easily take it to a consignment store, or sell it yourself, once it's cleaned.


We Didn't Underestimate DIY

In addition to the flowers, we made almost everything for the decor. I did the centrepieces, the guest globe, the name cards, the photo booth.....just everything. There was a LOT of spray paint involved! Since I like to be creative in reusing things, I used a lot of the things I already had on hand, which saved us both money and headaches.


Our Invitations Were Digital

I don't necessarily recommend this one, but we designed and sent out digital invitations. I personally wanted physical ones (I adore snail mail and pretty stationary), but we were definitely in favour of saving money on postage and invites. Beside the venue, this is probably where we saved the most. To compromise, we settled on using Paperless Post, which simulated opening a letter. I liked that, and I was comforted in the fact that not many people keep wedding invitations anyway.


We Had a Short Engagement

This doesn't seem like it would save us money, but it really did! All of our planning and DIY-ing had to be done and executed in 5 months. Had our engagement been longer, things would have added up slowly over time. Our guest list would have been much longer (which would have resulted in a more expensive venue and more food), and I would have likely made decisions and then change my mind (I'm extremely indecisive), costing us money later.


So there you have it. Some of the ways we avoided spending a great amount on our wedding.

In the end, it's not how much you spend on a wedding that makes a great marriage. A wedding lasts a day, and a marriage lasts a lifetime.

Note: We did splurge on one thing: our amazing photographer. Our picture memories are something we want to look back on and remember forever. You can check her out and some of our wedding photos at her blog, here!