Maple Alps

DIY Body Wash

Natural LivingAmanda Walter | Maple Alps22 Comments

A few days ago, I wrote about making and using do it yourself (DIY) hand soap. I talked briefly about the chemicals found in our soap products and about the benefits of castile soap and other natural ingredients. After I finished my experience with the hand soap, I thought to myself, "why not take it a step further? Sure, you're letting less toxins in through the skin of your hands, but what about the rest of your body?"

I knew it was time to try body wash. 

This post contains affiliate links.

Easy and Moisturizing DIY Body Wash! Super easy and no chemicals added!

Our skin is the largest living and absorbing organism we have! Imagine what might happen long term if we eliminated these harsh chemicals, or imagine if we continued using them...

Here's a little recap from my post about hand soap:


Triclosan (and even small amounts of it) is the most discouraged additive to soaps and hand sanitizers. Not only is it bad for humans (even low levels can lead to thyroid issues, etc.), but once it gets into the environment (waste water treatments can't remove all of it), it is harmful to aquatic life. 
Avoid fragrance. FDA laws allow the word "fragrance" on our labels to include whatever the product makers want. I don't even want to know the kinds of toxins that are included under that umbrella.
Sodium Lauryl Sulfate. There it is again. We talked about this in my toothpaste post, but apparently it's common in shampoos and soaps - basically anything that foams. It's the active ingredient in industrial strength soaps and garage cleaners. I would write more, but there's lots to say - I really read a lot about it. One helpful article I found was here.


I didn't want to take any chances, so I went ahead and made my own body wash too! Nothing wrong with that, right? Honestly, I made fun of myself a little bit, but it was a good time. 

Again, it was worth the cost and took less time than driving to the store to get some.

Another shout out to J for modelling! How talented is he?!

DIY Body Wash

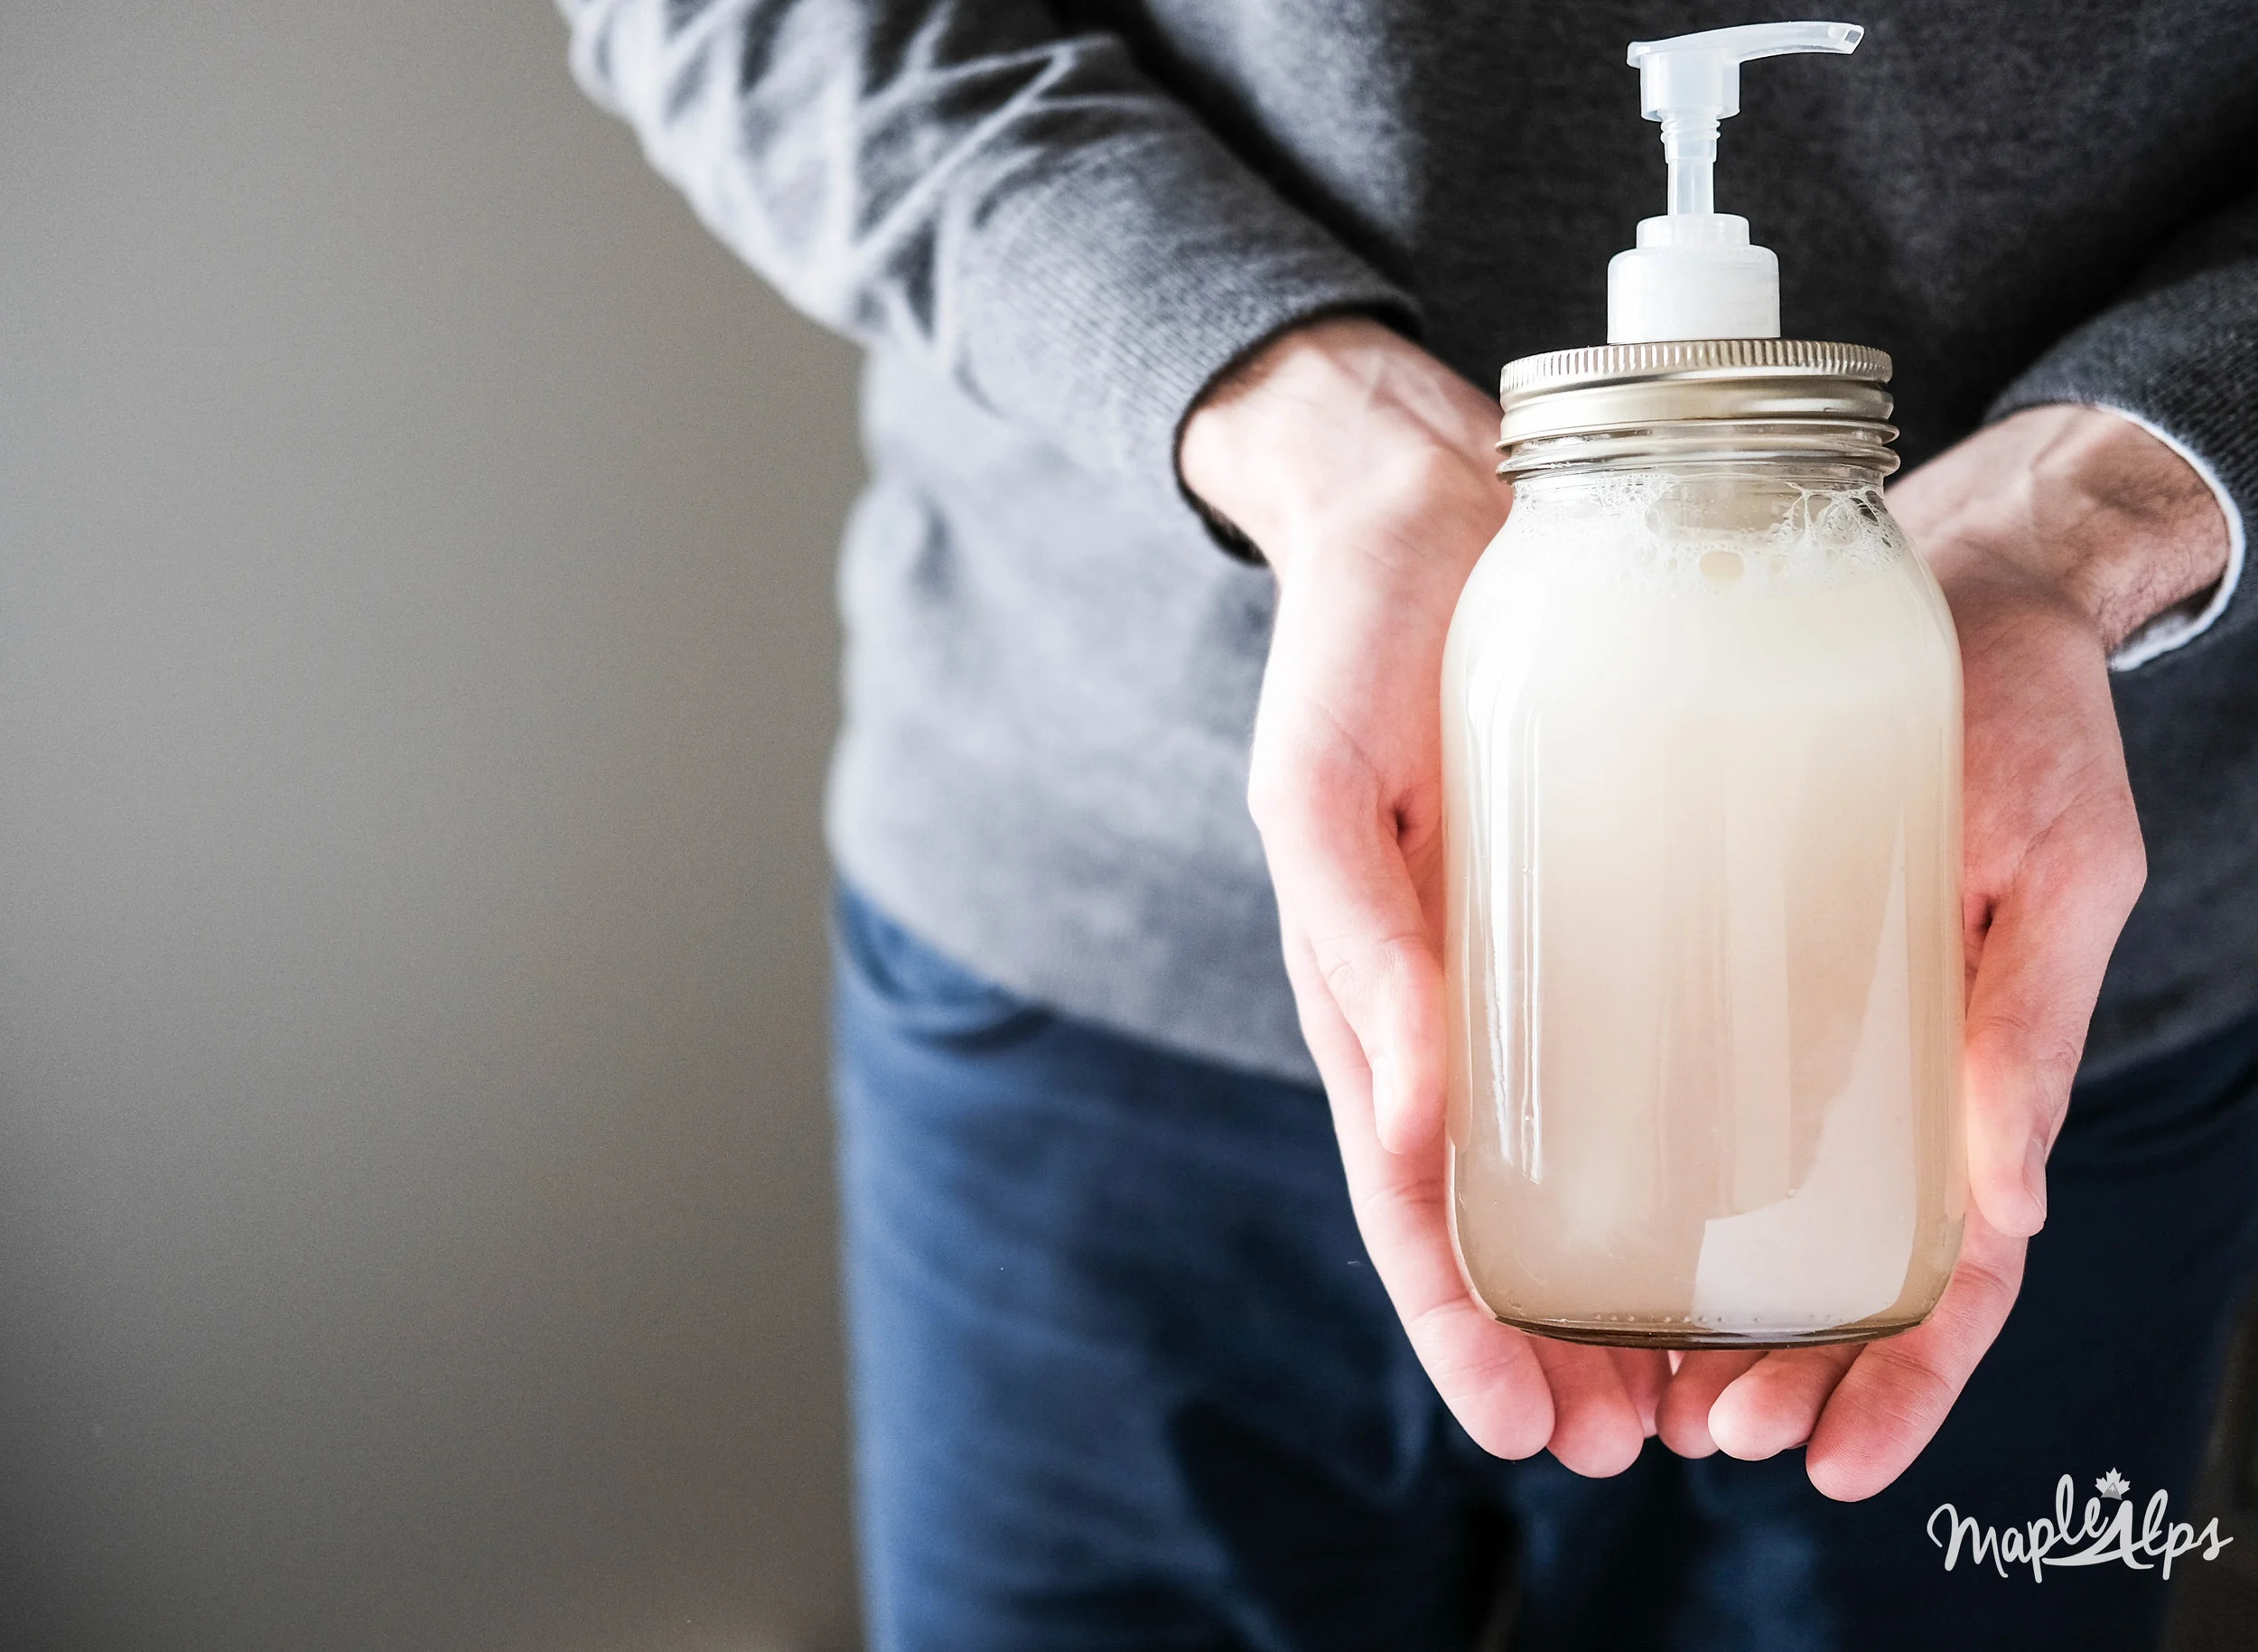
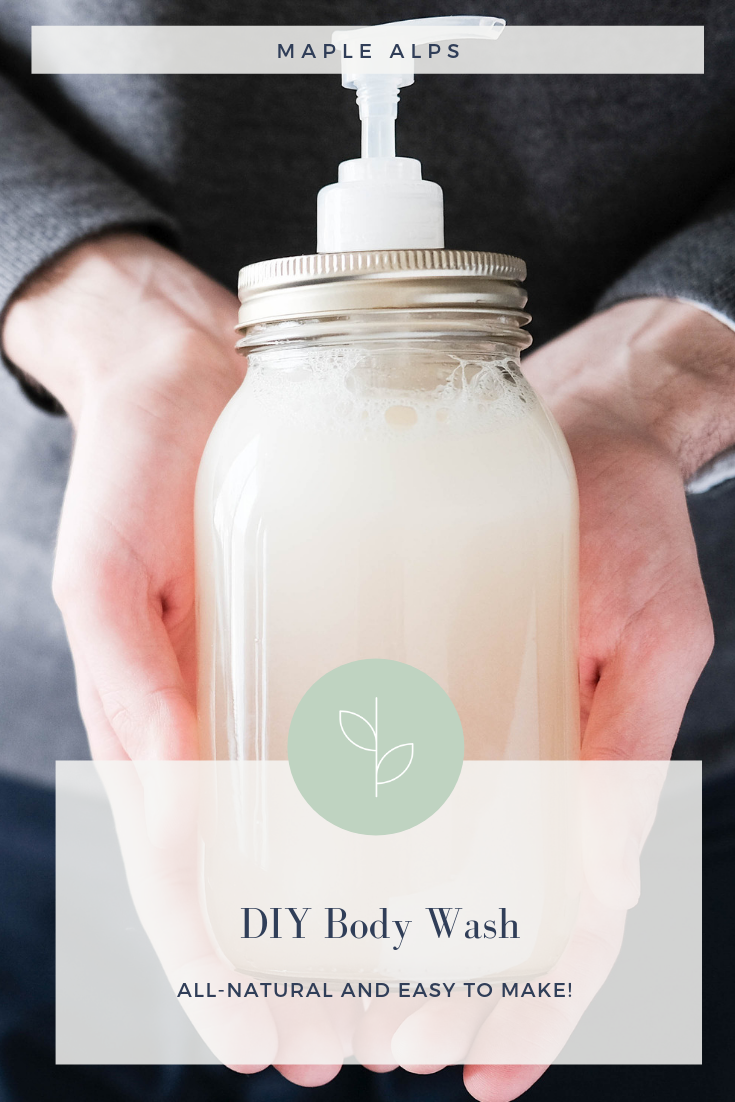
I decided on a glass mason jar and pump attachment to avoid having to open and close a container every time. It was easy to use. Just one pump onto a loofah, lather it up, and you're good to go!

After using the body wash, I found the same thing to be true of my skin as I did with the hand wash - I felt moisturized and clean. I would also like to add that I smelled good post shower. :)

I can't wait to experiment more! 

What you need:

  • 1 cup Castile Soap (I use this Castile Soap brand from Amazon)

  • 1 cup Distilled Water

  • 4 TBSP Sweet Almond Oil

  • 2 tsp Vitmin E Oil

  • 20-30 drops Essential Oil of  Your Choice*

    *I used peppermint. If you use a citrus oil, be careful of the sun - I read that citrus oils could increase your skin's sensitivity to the sun

What to do:

1) Combine all the ingredients in a container (I use a large glass mason jar) and shake gently to mix.

2) To use, add a pump to a bath sponge or loofah.


I'll be sure to update you if I find something that works even better, but I am completely satisfied with what I conjured up here! 

Did you try the hand soap? Do you think you'll try this too?


Natural Living-6.png
 

Strawberry Cream Vegan Cheesecake

RecipesAmanda Walter | Maple Alps21 Comments

Once in a while, we have a great weekend. This last weekend was one of them. Besides having some much needed social contact with some amazing people (can someone say Monopoly Deal?!), we went to a phenomenal Michael Card concert, and ate some delicious food! Our apartment also has twice the amount of fresh flowers in it as usual right now, so that makes me extra happy.

Speaking of food my husband has been bugging me for quite some time to make a vegan cheesecake, so I finally used this occasion to happily oblige. 

Strawberry Cream Vegan Cheesecake | www.maplealps.com

In the past, I've made vegan cheesecakes with a tofu base, but after realizing how much I love cashews (sorry, those with nut allergies!), I decided to try one with a cashew base.

Adding coconut cream added to the consistency and taste of it and made it so very rich and enjoyable. Seriously, as much as I love real cheesecake, it doesn't compare to this. 

Strawberry Cream Vegan Cheesecake

The one downside of making this was the expense! Cashews and agave, even at discounted prices, are no joke when it comes to pulling out the wallet. It was definitely worth the push on our budget though. We'll just eat the leftovers for breakfast, lunch and dinner today to make up for it. That's how it works, right?

Strawberry Cream Vegan Cheesecake

A special shout out to my awesome hand model who cut the cake! Isn't she great, folks?

I think when Summer rolls around, I'll try this again with some fresh picked berries - maybe blueberries or blackberries! Actually, I may just have to enjoy them on the side, since my husband prefers a plain cheesecake...

Strawberry Cream Vegan Cheesecake

Strawberry Cream Vegan Cheesecake

Adapted from Minimalist Baker and Sift and Whisk

What You Need:

Crust:

  • 1 cup Medjool Dates, pitted (soak if not moist)

  • 1 cup walnuts

Filling:

  • 3 cups cashews (soaked overnight, or in boiled water for an hour and drained)

  • Juice of 2 lemons

  • 1 3/4 cups coconut cream

  • 1 tsp vanilla extract

  • 1/3 cup coconut oil, melted

  • 1 cup agave (or honey, if not vegan)

Topping (Optional):

  • 2 cups berries of choice (I used strawberries)

  • 1 TBSP agave (or honey, if not vegan)

What to Do:


1) If you soaked your dates, pat them dry to remove excess water (to prevent crust from becoming to soggy). Put dates into food processor and pulse until a paste forms. Remove from bowl and put walnuts in. Pulse to chop.

2) Re-add the dates to the food processor bowl and pulse until the nuts and dates are mixed well, forming a ball.

3) Press evenly into a 9-inch springform and then place in the freezer while you prepare the filling. 

4) In a blender, combine all of the filling ingredients. Blend until smooth, and no nut chunks remain. 

5) Pour into springform and place in freezer as you prepare fruit topping.

6) After cleaning out food processor bowl, add berries (remove tops if necessary) and agave. Process until smooth. 

7) Carefully pour over filling (I used a large ladle to do this), and spread evenly across the top. 

8) Place back in freezer for at least 4 hours. Before serving, thaw ten minutes, or keep it frozen (just warm up your knife in hot water) - up to you! Enjoy!


I love how this provided some much needed Summer vibes on a great, sunny day!

Think you'll try it? 


Strawberry Cream Vegan Cheesecake
Strawberry Cashew Cream Vegan Cheesecake. Delicious and easy to make! Love the cashew texture!

Dark Chocolate Coconut Muffins (vegan + gluten free)

RecipesAmanda Walter | Maple Alps22 Comments

It's been a chocolate kind of week for me - which, now that I think about it, is slightly ironic, considering my last published post. Then again, you at least now that I brush my teeth

Anyway, because I've had chocolate on the brain (I blame the grey weather), I decided to share with you a recipe I was playing around with this week.

Dark Chocolate Coconut Muffins (vegan & gluten free)

To be completely honest, I spent a better number of my years skeptical about foods labeled "vegan" or "gluten free." Whenever I saw one of those words, I replaced it right away with "unfit for food." Embarrassing, I know, but you have to understand that I had some awful experiences leading to this association. It wasn't until the last few years I started to realize that plant-based foods could, in fact, be delicious! 

What does this have to do with chocolate? Nothing. I'll get back to the point now...

Dark Chocolate Coconut Muffins (vegan & gluten free)

This weekend, we have some friends over - one of whom is gluten free - so I spent all week trying to figure out what I could do to make sure she could eat. This was by no means a chore (I know you're reading this!), because I love experimenting! The one thing that I purposed in my head to make was some sort of muffin (probably because I was craving banana chocolate chip muffins that day.). I set to work trying to make something edible.

Dark Chocolate Coconut Muffins (vegan & gluten free)

My first attempt was a disaster. I tried an oat flour. I kind of guessed by the batter that it was going to be fail. The silly things didn't rise much. They at least tasted okay-ish. I didn't really think so, but my husband has been nibbling on them for days. My second attempt....also not so great. Actually, they turned out worse than the first ones. I used coconut flour this time with the brilliant idea that I would make coconut wonderfulness. Nope. They turned out even worse than the first ones! I wasn't terribly discouraged since I had no clue what I was doing (though that coconut flour was $$$...).  I finally decided to buy an all-purpose gluten free blend (bonus: it was on sale!). 

Dark Chocolate Coconut Muffins (vegan & gluten free)

The result was a delicious [chocolaty] muffin. Well, 12 of them. They didn't rise as much, but they were yummy. I still have plenty of intentions to keep experimenting, but for the love of my time, I just had to make something work. And this worked. Oh boy did it work! It worked so well that I downed like four as soon as they were cooled. Okay fine, I didn't wait till they cooled...you might not either! 

The one downside was that they were a little dry the next day - which a few minutes in the oven remedied quickly.  

Dark Dark Chocolate Coconut Muffins (vegan & gluten free)

Dark Chocolate Coconut Muffins (Vegan & Gluten Free)

Makes 12 muffins
Adapted from Baking Ginger

1/2 cup coconut oil
3/4 cup gluten-free flour
1/2 cup organic cane sugar
2 TB ground flax seed
5 TB water
1/2 cup cocoa
1 tsp vanilla extract
1 tsp almond extract
1 1/2 tsp baking soda
1/4 cup unsweetened almond milk
dark chocolate chips (to top)
(optional) organic shredded coconut (to top)

1) Preheat oven to 350 degrees F (180 degrees C) and lightly grease muffin tin.
2) Mix ground flax seed and water in mixing bowl. Let stand for five minutes
3) Add coconut oil and sugar. Mix well
4) Add the rest of the ingredients (except for the chocolate chips and coconut) and mix well.
5) Pour batter into muffin tin and top generously with chocolate chips or coconut...or both!
6) Bake for 20 minutes, or until muffins pass the toothpick test (toothpick comes out clean)


Dark Chocolate Coconut Muffins (Vegan & Gluten Free!) Super easy and really delicious - especially warm!
 

So there you have it. These babies are quick to whip up, delicious, and no one will even know they're vegan AND gluten free. What could be better? By the way, does anyone have any coconut flour tips?

PS: It may be a while before I write about chocolate again. But don't worry, it will be back.